Microduino ENC Network (11)——Connect the Microduino to the Wi-fi network using TL-WR702N
| Language: | English • 中文 |
|---|
ObjectiveThis tutorial will show you how to connect an Microduino to the Wifi network. Equipment
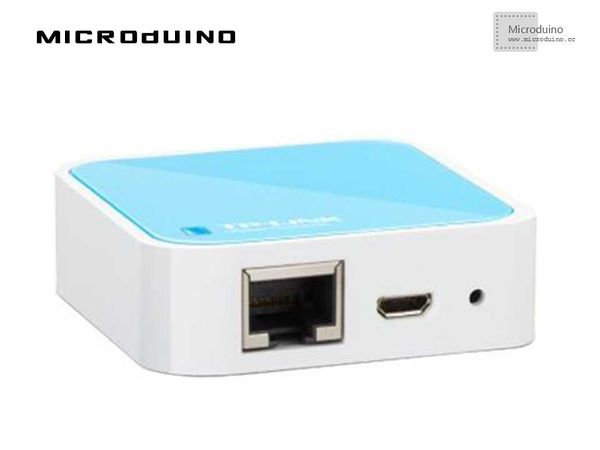
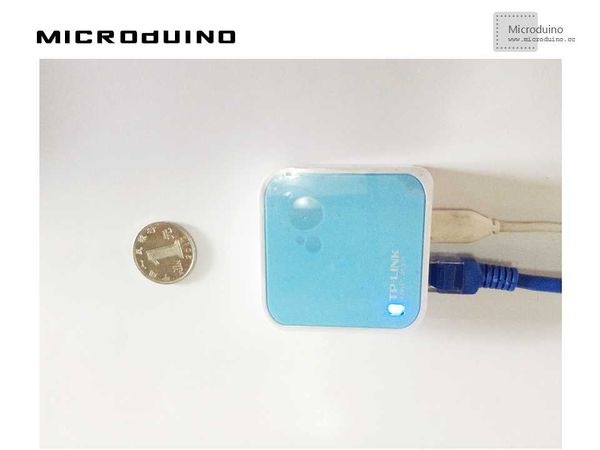
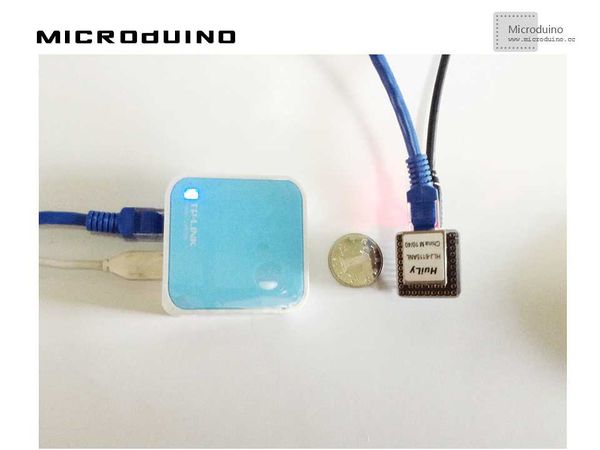
TL-WR703NTL-WR703N can work also as a wireless client: in this mode the router acts like a "bridge" between the device connected to its ethernet port and a Wi-fi network. The TL-WR703N router is also very small and you can power it through a micro USB connector: Schematic
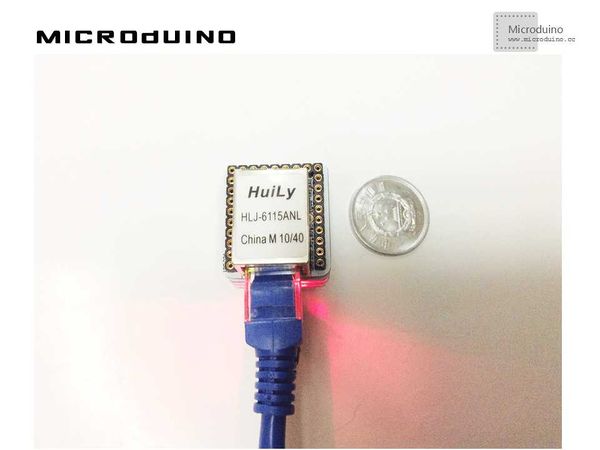
Stack all modules and then connect the ethernet cable, as follows:
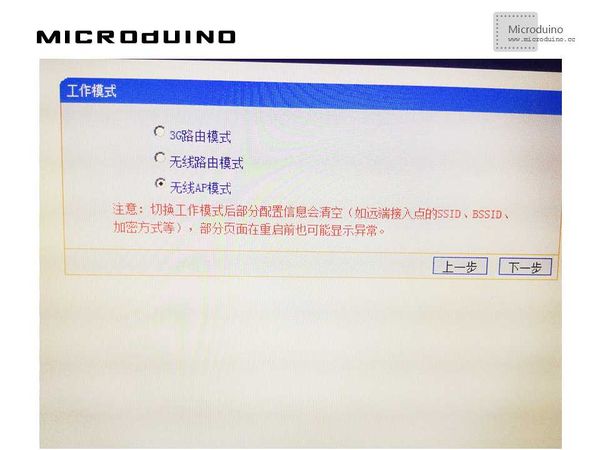
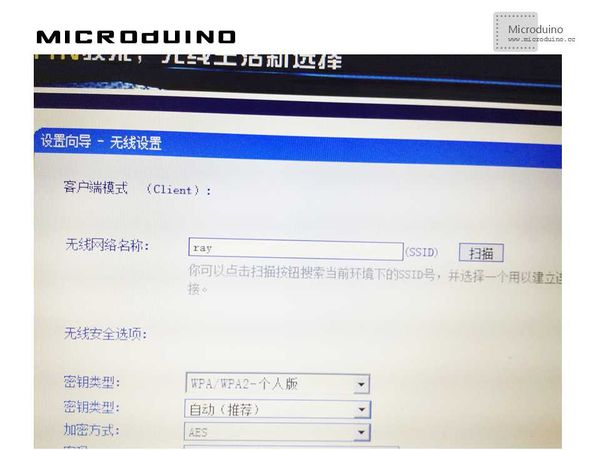
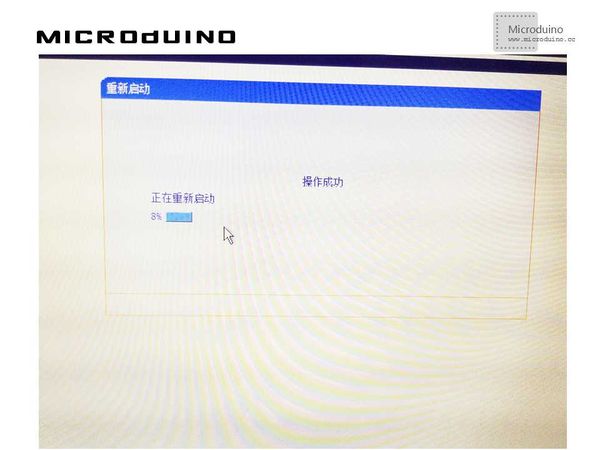
Programhttps://github.com/Microduino/Microduino_Tutorials/tree/master/Microduino_ENC/ENCnetworkeleven DebugStep 1: Download the EtherCard library and copy to your libraries fold of IDE, then restart IDE. https://github.com/jcw/ethercard Step 2: Configure TLWR703N in client mode: First, give to your PC a fixed IP address, 192.168.0.10, and connect it to the router using an ethernet cable: Open your browser and type http: //192.168.0.254; login with admin as username and password. Choose Client mode: Click Survey to find your Wi-fi network, then type your security settings (password…): Wait till router restarts: Step 3: After reboot, connect your Microduino and TL-WR703N; wait a couple of seconds and it will be available through your wireless network! Step 4: Download the code and compile it. You can use any program to test it, such as the program in Microduino ENC network (seven), hardware system as follows: Step 5: Check if can control the bulb. ResultYou can access the wifi network and control the bulb. Video |
