Microduino ENC Network (5)
| Language: | English • 中文 |
|---|
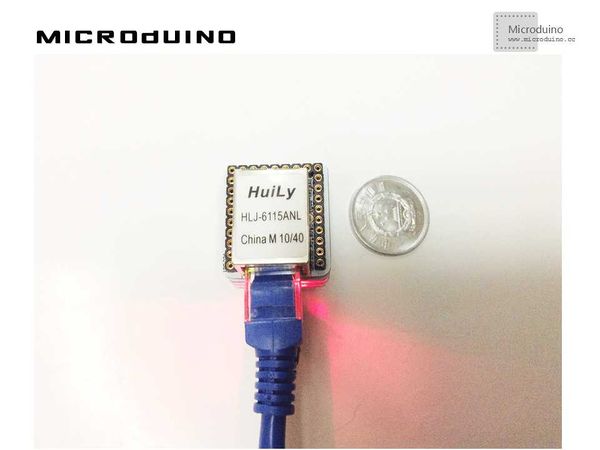
ContentsObjectiveThis tutorial will show you how to make Microduino act like a web server, so you can access it in your home network. Equipment
World Wide WebAmong the network services, the most used one is surely the web service: every time you "surf" on a website, the program you use (named browser) connects to the web server hosting that site using HTTP protocol and gets the content (pages, images, videos…) to show. Web pages are composed using a markup language named HTML; this language uses tags to describe page content. The main advantages in using HTTP to talk with Arduino on a network connection are:
Schematic
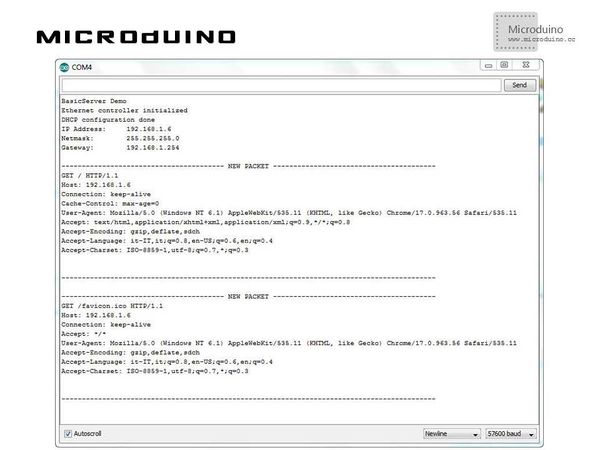
Stack all modules and then connect the ethernet cable, as follows: ProgramRefer to ENCnetworkfive DebugStep 1: Download the EtherCard library and copy to your libraries fold of IDE, then restart IDE. https://github.com/jcw/ethercard Step 2: Explain the program: I'm going to show you a simple program that prints on serial connection browser's requests and answers with a simple HTML page. This program is useful to understand how to use HTTP functions and also to find out which information a browser sends within the request (you'll learn how to use those information in a coming post). The complete sketch is available on GitHub's repository, here is the most important code: word len = ether.packetReceive(); word pos = ether.packetLoop(len); In the loop I save in a variable the return value of packetLoop() method: this value is the position, within the rx buffer, where browser’s request starts. if(pos) {
Serial.println("---------- NEW PACKET ----------");
Serial.println((char *)Ethernet::buffer + pos);
Serial.println("--------------------------------");
Serial.println();
If pos is greater than zero, I really received a correct request and I can print it on serial port (buffer + pos is the position to start). BufferFiller bfill = ether.tcpOffset(); To store the response I'm going to send to client's browser, I use a BufferFiller object. This object inherits from Print class and its constructor gets as parameter the ethernet's buffer address (tcpOffset) where the response has to be saved. bfill.emit_p(PSTR("HTTP/1.0 200 OK\r\n"
"Content-Type: text/html\r\nPragma: no-cache\r\n\r\n"
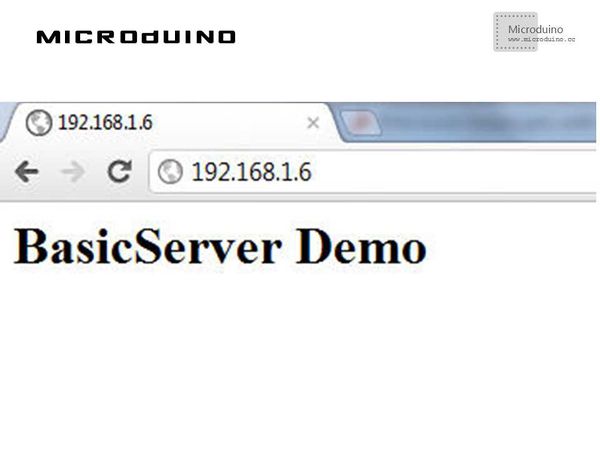
"<html><body>BasicServer Demo</body></html>"));With emit_p() method I can save data in the buffer: for this example I create a simple HTML page that shows BasicServer Demo text. To save RAM memory space, I use PSTR() macro that stores strings in the PROGRAM. ether.httpServerReply(bfill.position()); At last, with httpServerReply() method, I send the response to the browser. This method needs, as a parameter, the number of characters to be sent. I can get the number of characters BufferFiller contains with its method position(). Step 3: Compile the code and download it. Step 4: Check you ip address by the serial port. Input the Microduino's IP in browser... Resultthe result should be like this: And on your serial monitor: You may ask why the browser sent two requests, one for the page "/" (that is the site's homepage) and one for the image favicon.ico. That is the icon some sites show next to their address; here's for example the icon from DangerousPrototypes: Video |


