Microduino ENC Network (6)
| Language: | English • 中文 |
|---|
ContentsObjectiveThis tutorial will show you how to write a sketch to update a DNS record hosted by one of the most famous Dynamic DNS service providers, no-ip. Equipment
Dynamic IP addressesIf you connect to Internet using a home or mobile connection, you’ll probably have a dynamic public IP address, that is it changes every time you connect. If you need to talk to a device on Internet, you need to write – in the message you send on the net – its public IP address: if this IP is dynamic, you may not know it. Dynamic DNSIn Internet you can find free Dynamic DNS (DDNS) services: they allow you to associate a name you choose with an IP address and they allow you to keep that association updated. The update could be done in different ways:
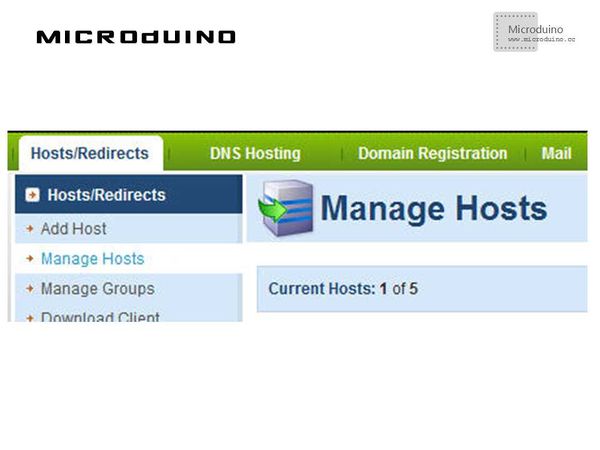
NO-IPOne of the most used site offering dynamic DNS service is No-IP. If you register for free to No-IP Free service, you can configure up to 5 hosts for Hosts/Redirects feature: For this tutorial, I registered the following host: enctutorial.no-ip.info. DDNS ClientEvery DDNS client performs the following steps:
Schematic
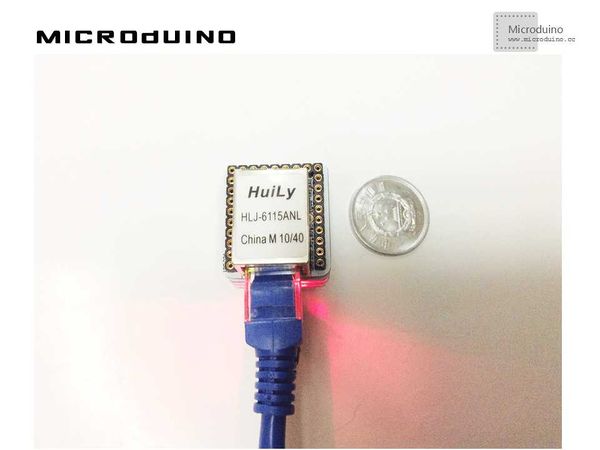
Stack all modules and then connect the ethernet cable, as follows:
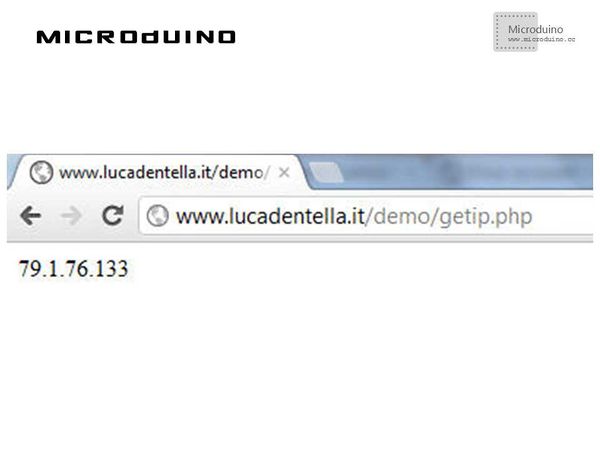
ProgramRefer to ENCnetworksix DebugStep 1: Download the EtherCard library and copy to your libraries fold of IDE, then restart IDE. https://github.com/jcw/ethercard Step 2: Explain the program: Public IP: To find the actual public IP, I wrote a simple PHP page on my website: Microduino sketch gets that page and parse the IP address. DNS record and comparison: //Sketch calls dnsLookup() method to resolve actual IP for DNS record; it then converts the result in a String object to use its compareTo() method to compare the two IP addresses: if(!ether.dnsLookup(noIP_host)) {
[...]
} else {
for(int i = 0; i < 4; i++) {
dnsIp = dnsIp + String(ether.hisip[i]);
if(i < 3) dnsIp = dnsIp + ".";
}
if(actualIp.compareTo(dnsIp) == 0) {
Serial.println("No update needed :)");
[...]
} else {
Serial.println("Update needed :(");
actual_status = STATUS_NOIP_NEEDS_UPDATE;
}
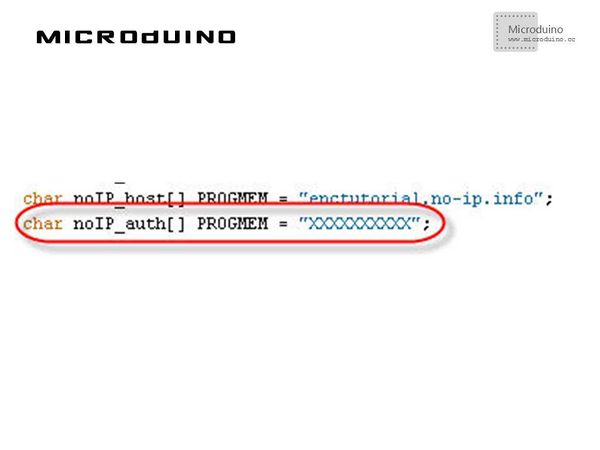
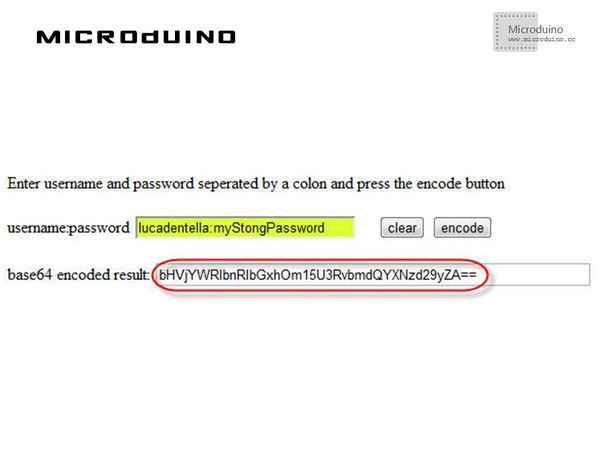
Authentication: You have to authenticate to No-IP before being allowed to update any records. You have to assign to that constant the base64 encoded value of the string username:password. Step 3: Compile the code and download it. Step 4: Check if can access the Microduino. ResultArduino correctly found a difference between public IP and DNS record so it updated No-IP record. After a while, it performed another check and this time the two IP addresses were equals so no update was required. Video |
