Microduino Wireless node temperature acquisition-OLED(LM35, DS18b20, DHT11, SHT10, AM2321)
| Language: | English • 中文 |
|---|
Contents[hide]ObjectiveThis tutorial will teach you to use the Microduino nRF24 module. It must be used in pair, one is sender and the other is receiver. We will the temperature sensor and temperature and humidity sensor to get data and nRF24 sender will send the data, then receiver receives the data and displays on OLED. At last, we use three Microudino nRF24s to set up a network which contains two sender and one receiver, use three OLEDs to display result. Equipment
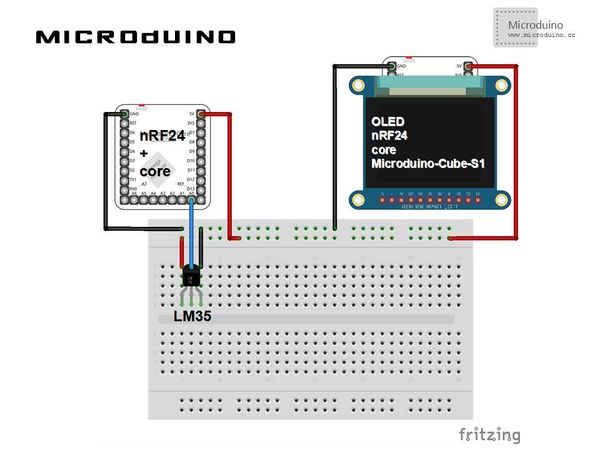
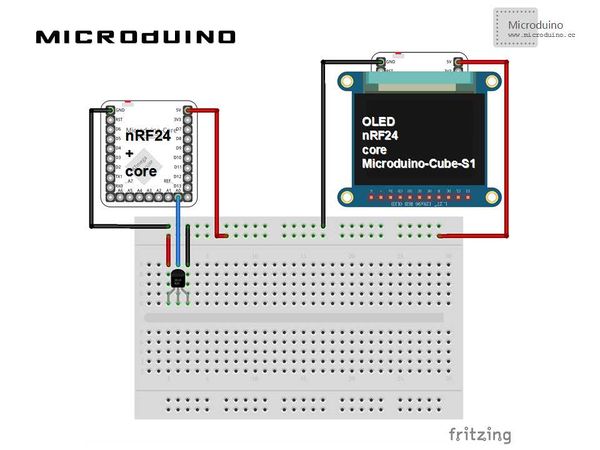
Experiment 1 (LM35)Schematic
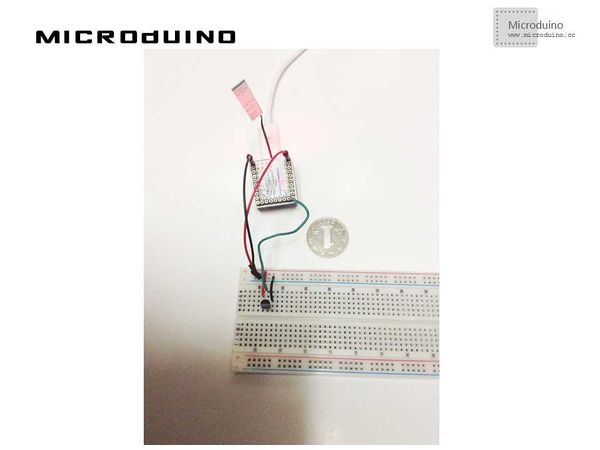
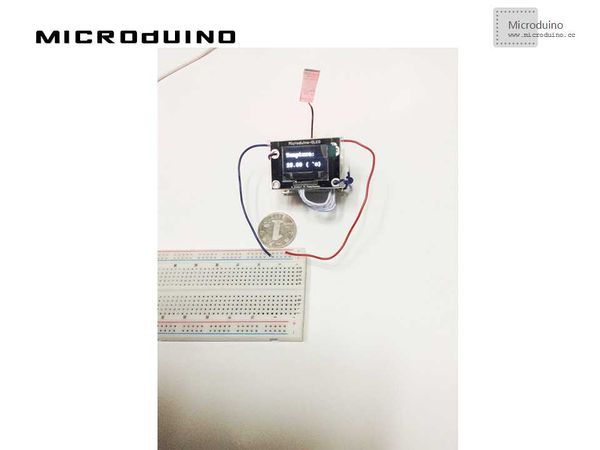
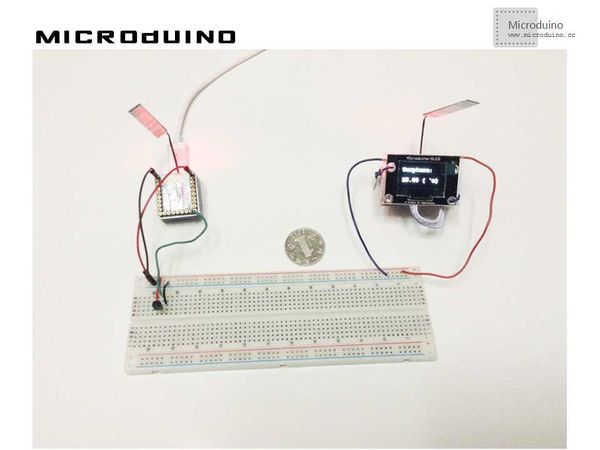
Stack all of them and connect to sensor. Left is the sender and right is the receiver. ProgramRefers to the nRF24_LM35 DebugStep 1: Set up the hardware, as follows: Sender: Receiver: Left is the sender and right is the receiver: Step 2: Copy sender's program and receiver's program to IDE and compile them respectively. Step 3: Download the program and run them. Step 4: Observe the OLED. Find a hot object to close the temperature sensor, the OLED will display the result. ResultPut the DHT11 sensor near the heat source, the OLED displayed value will rise, leave the heat source temperature will gradually reduce. Blowing on the sensor, the number will rise too.
Experiment 2 (DS18b20)Schematic
Stack all of them and connect to sensor. Left is the sender and right is the receiver. ProgramRefers to nRF24_DS18B20 DebugStep 1: Set up the hardware, as follows: Sender: Receiver: Left is the sender and right is the receiver: Step 2: Copy sender's program and receiver's program to IDE and compile them respectively. Step 3: Download the program and run them. Step 4: Observe the OLED. Find a hot object to close the temperature sensor, the OLED will display the result. ResultPut the DS18B20 sensor near the heat source, the OLED displayed value will rise, leave the heat source temperature will gradually reduce. Blowing on the sensor, the number will rise too.
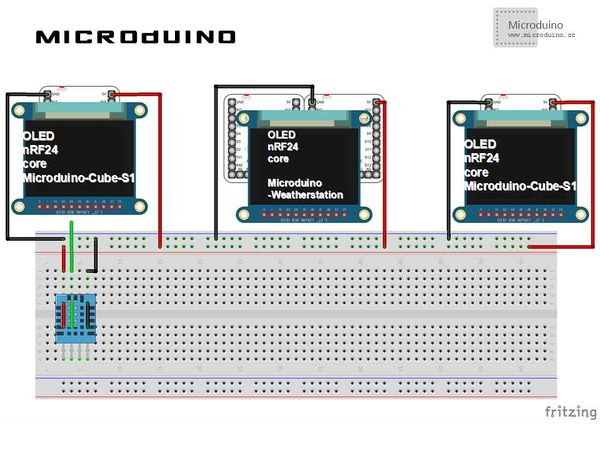
Experiment 3 (AM2321,DHT11 multi-node network)Schematic
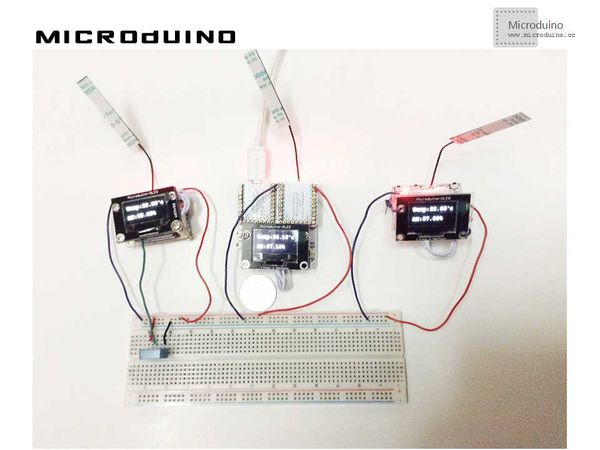
Stack all of them and connect to sensor. Left is the sender node 1, the middle is the sender node 2, and the right is the receiver. ProgramRefers to nRF24_AM2321_DHT11_network DebugStep 1: Set up the hardware, sender has two nodes (node 1 and node 2). Left is the sender node 1, the middle is the sender node 2, and the right is the receiver. As follows: Step 2: Copy sender's program and receiver's program to IDE and compile them respectively. Step 3: Download the program and run them. Step 4: Observe the sender's OLED and receiver's OLED. ResultObserve the receiver'd OLED, the temperature value is for node 1 and humidity value is for node 2. Change the temperature and humidity of the AM2321, DHT11 sensor, three OLED's value will change. Video |
