Music Box Light Control

From Microduino Wiki
Jump to: navigation, search
Language: English  • 中文

Objective

We build a music box here. You can turn to different songs by opening the door of the box and shut the door to stop the music.

Principle

We can detect the door's open or close via light-sensitive sensor. When opening the door, light is intense and it will trigger the change of songs or by closing the door, the music will be stopped.

Equipment

Module Number Function
mCookie-CoreUSB 1 Core board
mCookie-Hub 1 Sensor pin board
mCookie-Audio 1 Audio module
mCookie-Amplifier 1 Amplifier
mCookie-BM 1 Battery management
Microduino-Light 1 Light-sensitive sensor
  • Other Equipment:
    • Two loudspeakers
    • One cell of battery
Music boxz.jpg

Preparation

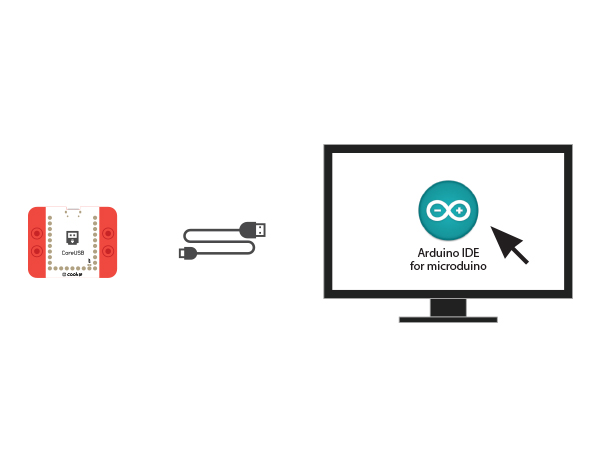
  • Setup 1:Connect CoreUSB and PC/MAC with a USB cable, then open Arduino IDE.
CoreUSB Ble pc.jpg
  • Setup 2:

Download program examples: music_box_light

  • Setup 3:Open downloaded program, select the right board and COM port, then click download.

Software Debugging

Code description: One part for detecting light intensity and the other part for sending serial instructions to control Audio playing, pause or cut according to brightness.

  • " audio.h " controls Audio file.
  • The use of Audio serial port is decided by jumper wires on the board. The default soft serial port is (2,3).
#include <SoftwareSerial.h>

SoftwareSerial mySerial(2, 3); // RX, TX

#define AUDIO_PORT mySerial   
//#define AUDIO_PORT mySerial
  • Pre-set photosensitive trigger value. When light-sensitive value is bigger than the pre-set value, the door will open or it'll close.

Define pins of light-sensitive detection.

#define light_cm 300

#define light_pin A0
  • When is detected value is bigger than pre-set value, it'll delay for 100 ms and then detect if the detected value is bigger than the pre-set value in case of shaking. If yes, then it'll execute cutting instruction " audio_down();". It'll execute instruction only once by True of False value of the "change".
  if ( light_val > light_cm && !change)
  {
    if (millis() - time1 > 100)
    {
      light_val = analogRead(light_pin);
      if (light_val > light_cm)
      {
        change = true;//True means the "if" condition will execute once. 
        off = false;
        audio_down();
        //audio_choose(1);
        //audio_play();
      }
      time1 = millis();
    }
  }
  • When the detected value is small than the pre-set one, it'll delay for 100ms and re-detect. Then, it'll execute pause instruction " audio_pause();" and achieve instruction once by the True or False value of "off".
  if ( light_val > light_cm && !change)
  {
    if (millis() - time1 > 100)
    {
      light_val = analogRead(light_pin);
      if (light_val > light_cm)
      {
        change = true;//True means the "if" condition above can execute one time. 
        off = false;
        audio_down();
        //audio_choose(1);
        //audio_play();
      }
      time1 = millis();
    }
  }

Hardware Debugging

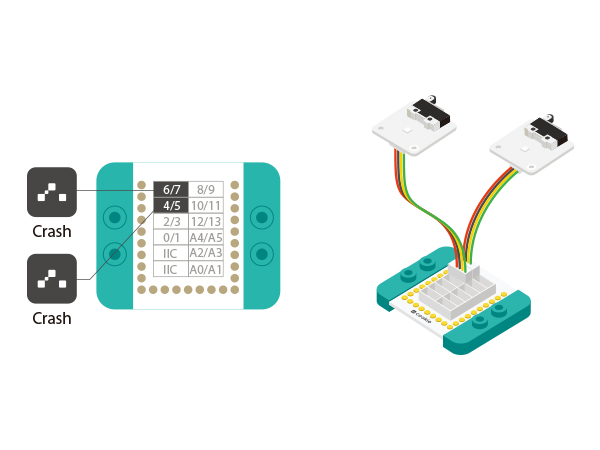
  • Setup1:Connect the light-sensitive sensor to the A0 pin of Sensorhub.
Music boxz 4 6.JPG
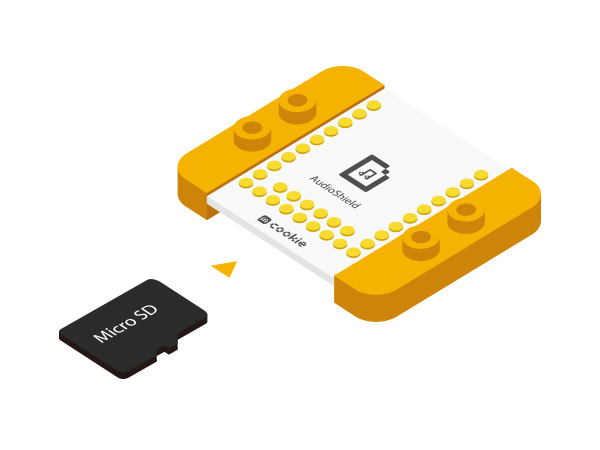
  • Setup 2:Insert TF card into the slot of AudioShield.
MusicBox Joystick TF.jpg
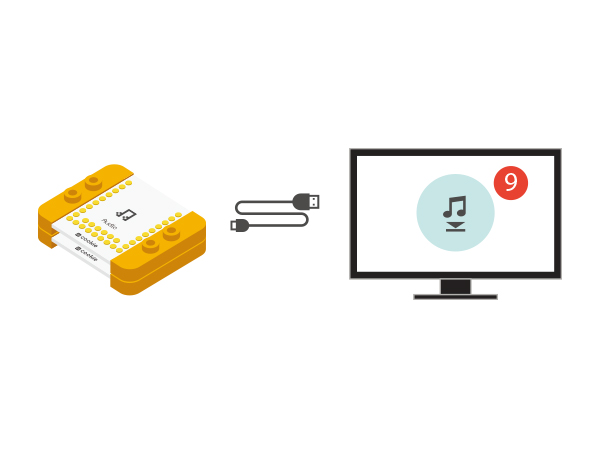
  • Setup 3:Stack Audio and AudioShield first, connect them to PC, then you can save MPS3 files into root directory of TF card.
MusicBox Joystick song.jpg
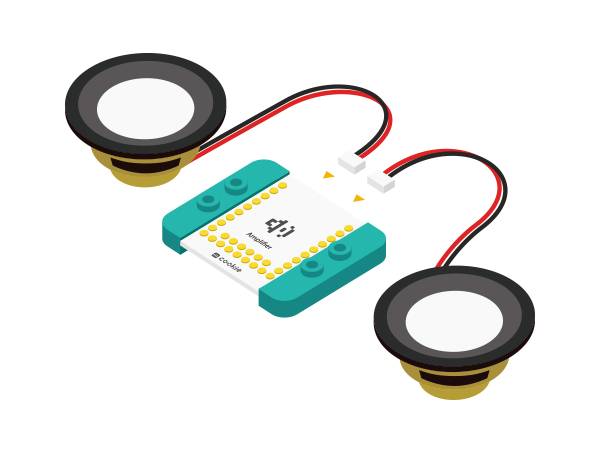
  • Setup4:Connect two loudspeakers to Amplifier.
MusicBox Joystick song speak.JPG
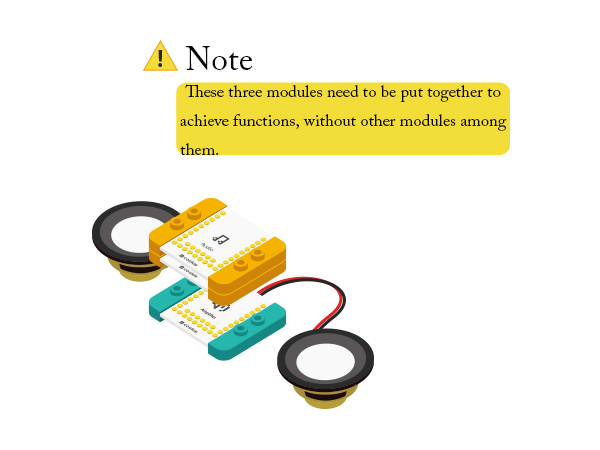
  • Setup5:Stack Audio, AudioShield and Amplifier together.
MusicBox Joystick 3 speak.JPG
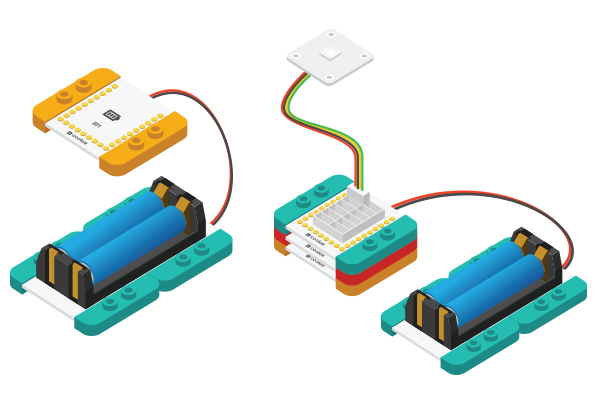
  • Setup6:Connect the activated battery box and BM.
CoreUSB Ble steup2.jpg
  • Setup7:Stack all modules without fixed order (Except that Audio, AudioShield and Amplifier should be together).

Result

Open the music door and you can cut songs or close the door and stop the music. You can also build a beautiful LEGO shell since mCookie can be stacked with LEGO easily.

Video