Music Player
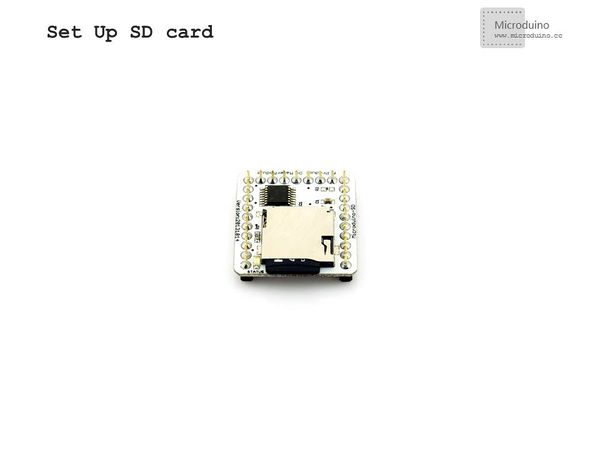
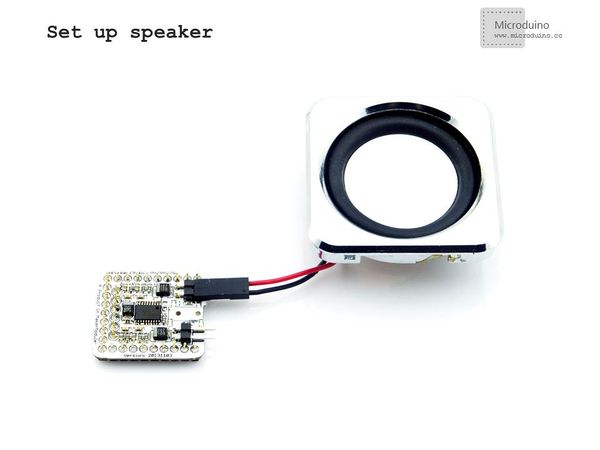
Contents[hide]ObjectiveThe course will show you how to control Microduino modules to achieve a music player by using Processing. Equipment
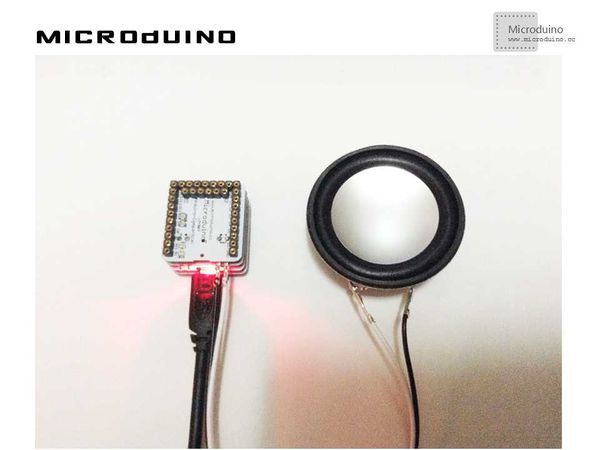
SchematicJust stack the four Microduino modules mentioned above and connect the two wires of the loudspeaker to Microduino-LM4863 ProgramDebuggingStep 1: The hardware building of the circuit can refer to: http://www.microduino.cc/wiki/index.php?title=Microduino_LM4863%E9%9F%B3%E4%B9%90%E6%92%AD%E6%94%BE%E5%99%A8-301KIT/zh
|
|
|
Step 3:Here the code needed: The code of two ends (Processing and Microduino) Microduino: //The code keeps consistent with that of the 301 kit of Microduino-LM4863 music player. The difference is the added function of receiving serial data if(Serial.available())
{
command=Serial.read();
Serial.println(command);
SdPlay.worker();
if(num_two!=num_one)
{
num_two=num_one ;
if(command=='p') {//'p' means play
SdPlay.play();
Serial.println(F("Play."));
}
else if(command=='t') {//'t' means stop
SdPlay.pause();
Serial.println(F("Pause."));
}
Serial.println(ok);
Serial.print(num_one);
Serial.println(num_two);
}
}
Processing: //Get the data of the first serial port. println(Serial.list()); // is always my Arduino, so I open Serial.list()[0]. // Open whatever port is the one you're using. port = new Serial(this, Serial.list()[0], 9600); //Add background-image, judge the mouse click, send play or pause instructions to Microduino to control the music player void draw() {
image(bg, 0, 0);
if (button) {
image(play, x, y);
port.write("p");
}
else {
image(pause, x, y);
port.write("t");
}
}
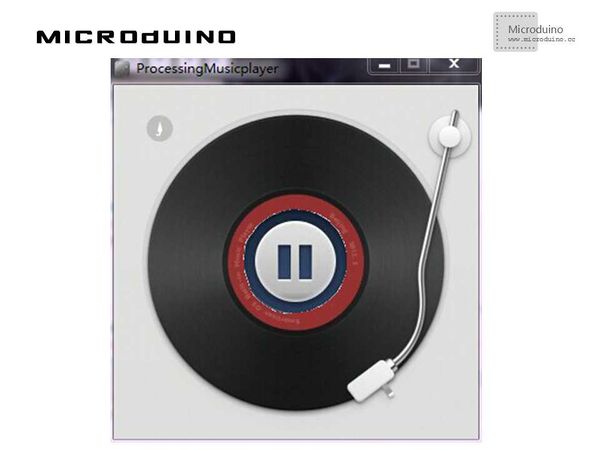
Step 5: After the system goes well, a disk music player will appear on the screen. Click the button in the middle to see what happens. ResultThe music player starts or pauses along with the click of the button, just like this:.
Video |
