Difference between revisions of "Thermo Cup"
From Microduino Wiki
(→Principle) |
|||
| (2 intermediate revisions by one other user not shown) | |||
| Line 24: | Line 24: | ||
| [[Microduino-Temp&Hum]]||1||Temperature and humidity sensor | | [[Microduino-Temp&Hum]]||1||Temperature and humidity sensor | ||
|- | |- | ||
| − | | [[Microduino- | + | | [[Microduino-Colored LED]]||1||Colored LED light |
|} | |} | ||
| Line 31: | Line 31: | ||
[[File: Temp_Cap_sch.jpg|600px|center]] | [[File: Temp_Cap_sch.jpg|600px|center]] | ||
| + | |||
==Load the Code== | ==Load the Code== | ||
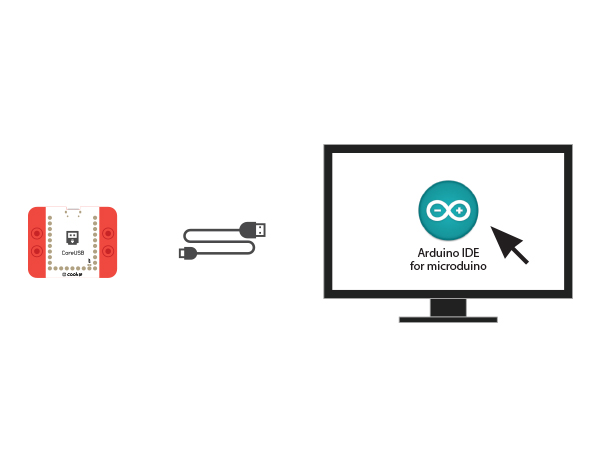
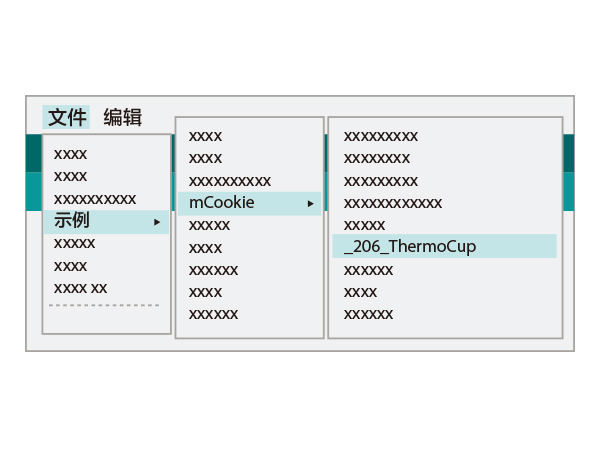
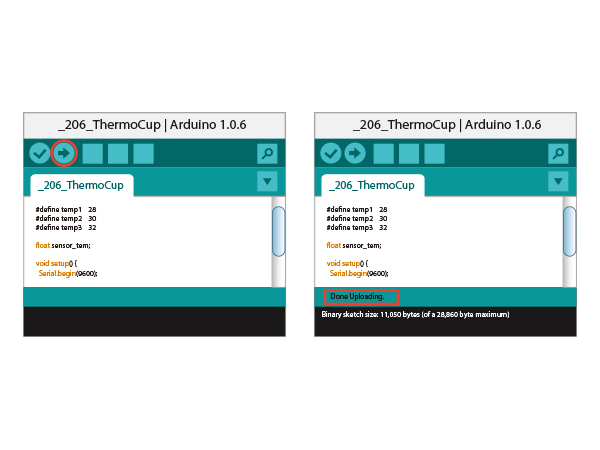
*Setup 1:Connect CoreUSB and PC/MAC with a USB cable and open Arduino IDE. | *Setup 1:Connect CoreUSB and PC/MAC with a USB cable and open Arduino IDE. | ||
| Line 58: | Line 59: | ||
#define temp3 32 | #define temp3 32 | ||
</source> | </source> | ||
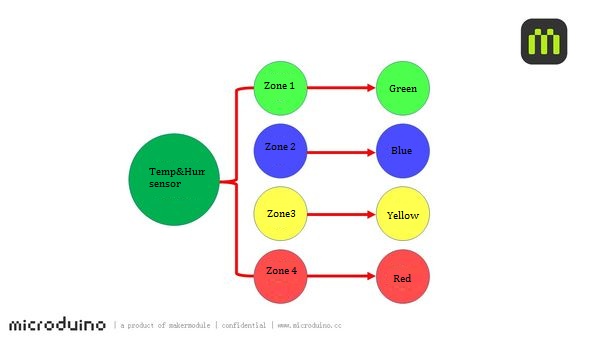
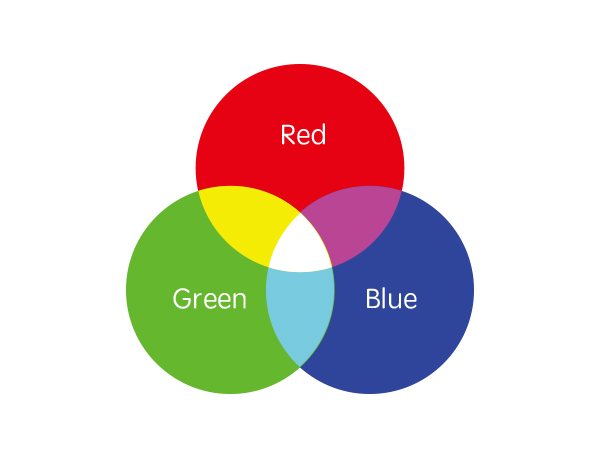
| − | *Based on the definition for relation between light color and temperature, we set four light RGB values for environment temperature higher than temp1, between temp1 and temp2, between temp2 and temp3 and higher than temp3. You can try to change RGB values or add more temperature sections and see changes. " strip.Color(R,G,B)" R, G and B represents three | + | *Based on the definition for relation between light color and temperature, we set four light RGB values for environment temperature higher than temp1, between temp1 and temp2, between temp2 and temp3 and higher than temp3. You can try to change RGB values or add more temperature sections and see changes. " strip.Color(R,G,B)" R, G and B represents three primary colors. |
<source lang="cpp"> | <source lang="cpp"> | ||
if (sensor_tem <= temp1) | if (sensor_tem <= temp1) | ||
| Line 87: | Line 88: | ||
==Result== | ==Result== | ||
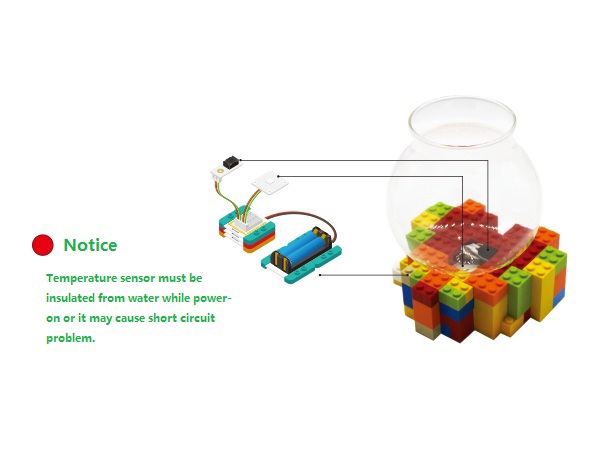
The sensor detects different temperature data. You can also build a beautiful shell with LEGO. | The sensor detects different temperature data. You can also build a beautiful shell with LEGO. | ||
| − | [[File: | + | [[File: 213ThermoCup_legao.jpg|600px|center]] |
==Video== | ==Video== | ||
|} | |} | ||
Latest revision as of 09:29, 4 August 2017
| Language: | English • 中文 |
|---|
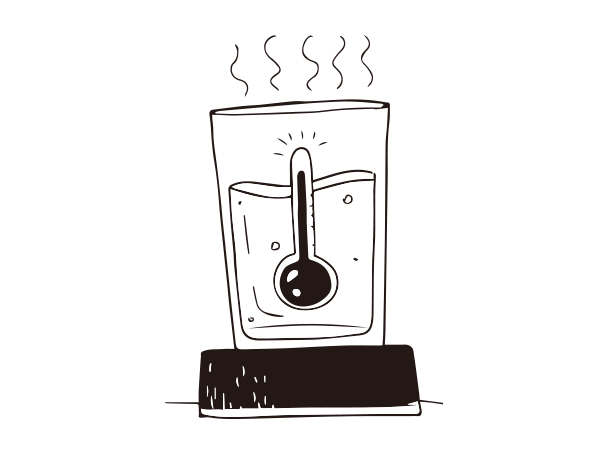
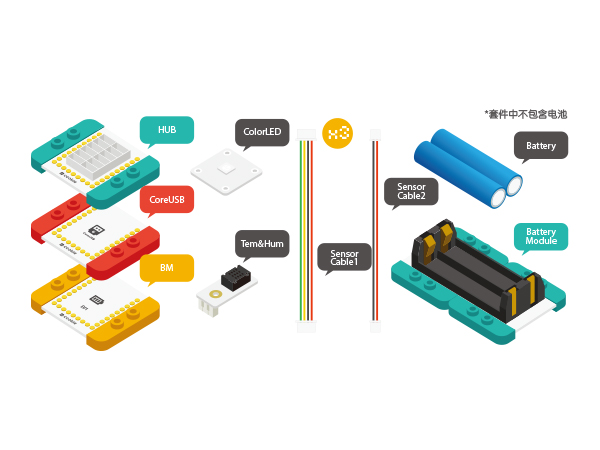
ContentsObjectiveThis cup can "sense" water temperature and present different colors according to program settings. PrincipleTemperature and humidity sensor detects environment temperature and humidity and make light present different color in different sections. Equipment
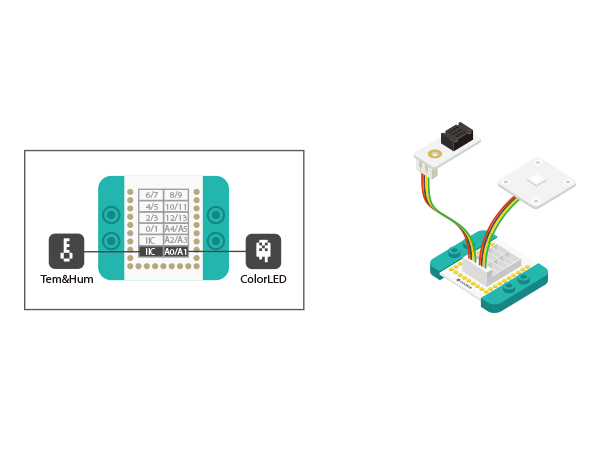
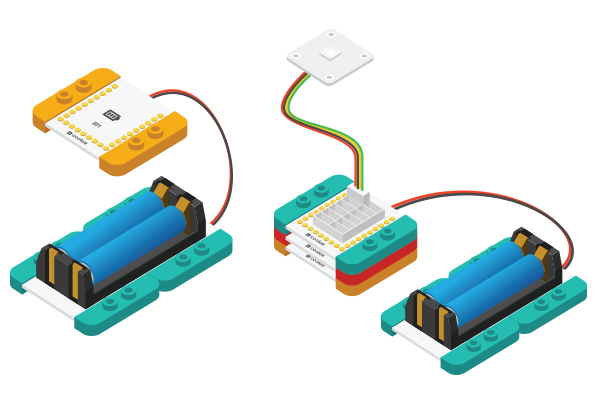
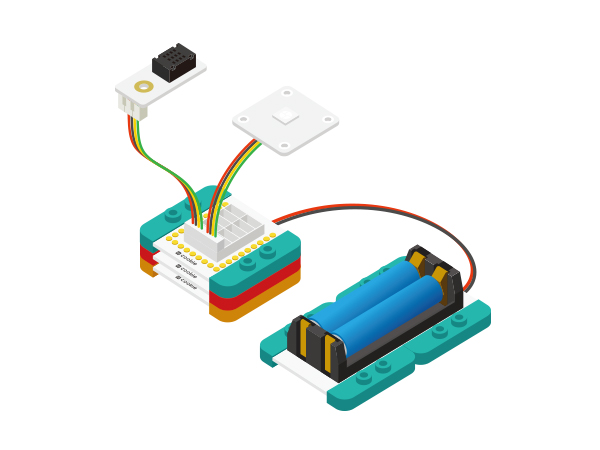
Load the Code
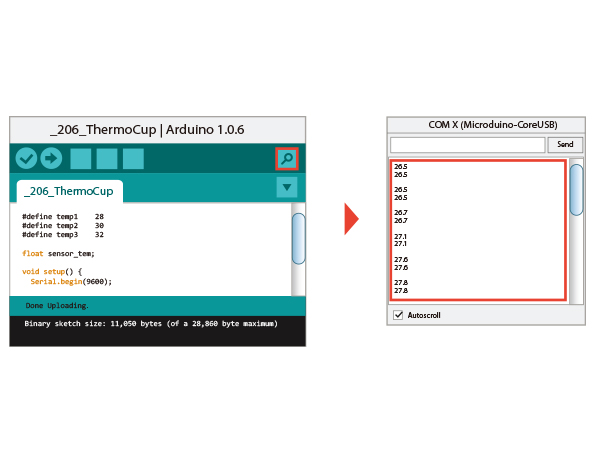
Code Debugging
void readByAM2321()
{
  AM2321 am2321;
  am2321.read();
  sensor_tem = am2321.temperature / 10.0;
  Serial.println(sensor_tem);
  delay(100);
}
#define temp1    28
#define temp2    30
#define temp3    32
  if (sensor_tem <= temp1)
    colorSet(strip.Color(0, 255, 0));

  else if (sensor_tem > temp1 && sensor_tem <= temp2)
    colorSet(strip.Color(0, 0, 255));

  else if (sensor_tem > temp2 && sensor_tem <= temp3)
    colorSet(strip.Color(255, 255, 0));

  else
    colorSet(strip.Color(255, 0, 0));
RGB value is method of defining light color. R(Red), G(Green) and B(Blue) are the three primary colors, whose values is 0-225. The value represents color intensity. Three different kinds of light can be superimposed together to form a variety of colors, such as (0, 225), that is green. Hardware Buildup
ResultThe sensor detects different temperature data. You can also build a beautiful shell with LEGO. Video |
