Difference between revisions of "BOXZ Mini Robot"
(Created page with "{| style="width: 800px;" |- | ==Outline== *Project: Microduino BOXZ Mini Robot. *Purpose: To control BOXZ Mini Robot by Microduino-Joypad. *Difficulty: High *Time-consum...") |
(→Software Debugging) |
||
| (One intermediate revision by the same user not shown) | |||
| Line 114: | Line 114: | ||
*Downlaod Microduino_Joypad_Ctrl program: | *Downlaod Microduino_Joypad_Ctrl program: | ||
| + | https://github.com/Microduino/Microduino_Tutorials/tree/master/Microduino_Advanced_Tutorial/Microduino_Joypad_QuadCopter/Joypad_RC_2.4 | ||
| − | *Open Microduino_Joypad_Ctrl program, select the right board ()Microduino Core (Atmega328P@16M,5V) after successful compiling and then download. | + | *Open Microduino_Joypad_Ctrl program, select the right board ()Microduino Core (Atmega328P@16M,5V) after successful compiling and then download. |
===Debug Microduino-Joypad=== | ===Debug Microduino-Joypad=== | ||
| Line 196: | Line 197: | ||
===Software Debugging=== | ===Software Debugging=== | ||
*Download Microduino_Robot_BOXZ program: | *Download Microduino_Robot_BOXZ program: | ||
| + | https://github.com/Microduino/Microduino_Tutorials/tree/master/Microduino_Joypad/Robot_v0.1 | ||
| + | |||
*Open Microduino_Robot_BOXZ program, choose the right board (Microduino Core+ (Atmega644P@16M,5V)) after successful compiling and download. | *Open Microduino_Robot_BOXZ program, choose the right board (Microduino Core+ (Atmega644P@16M,5V)) after successful compiling and download. | ||
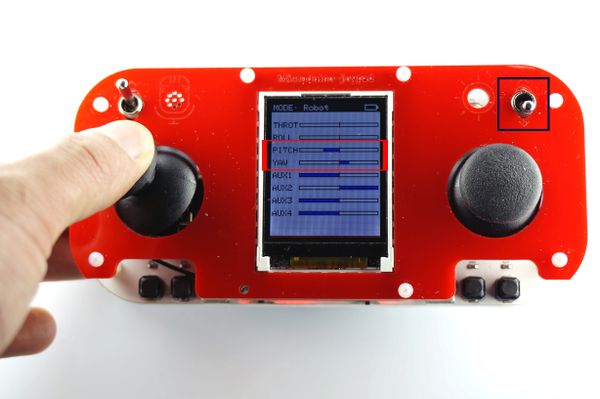
*Open [[Microduino-Joypad]] after the download, select “Robot” and “MCU OFF” mode and turn on the remote control and play. (Note: Please make sure the joystick is adjusted correctly.) | *Open [[Microduino-Joypad]] after the download, select “Robot” and “MCU OFF” mode and turn on the remote control and play. (Note: Please make sure the joystick is adjusted correctly.) | ||
Latest revision as of 03:43, 1 December 2014
ContentsOutline
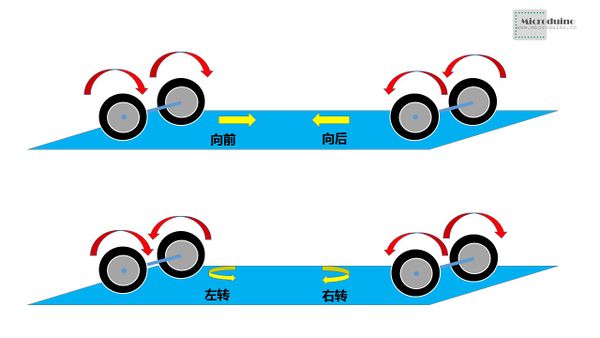
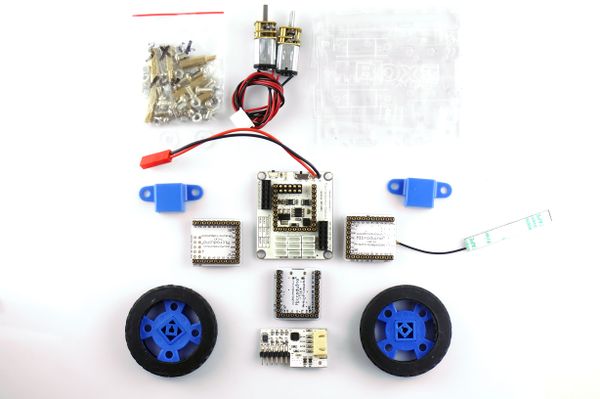
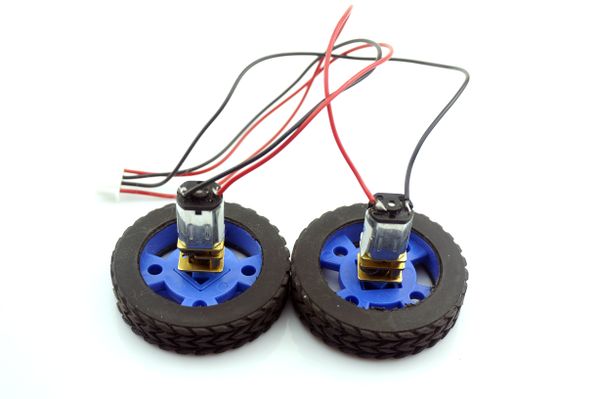
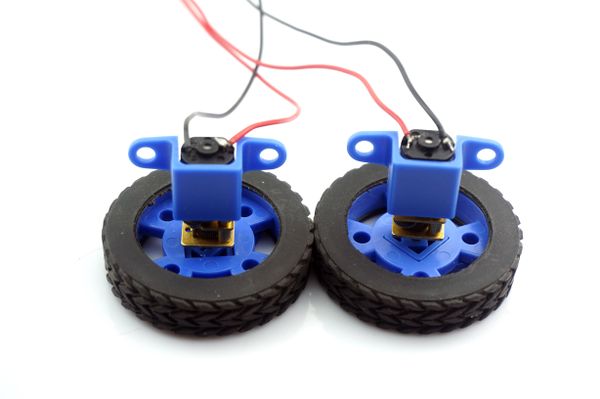
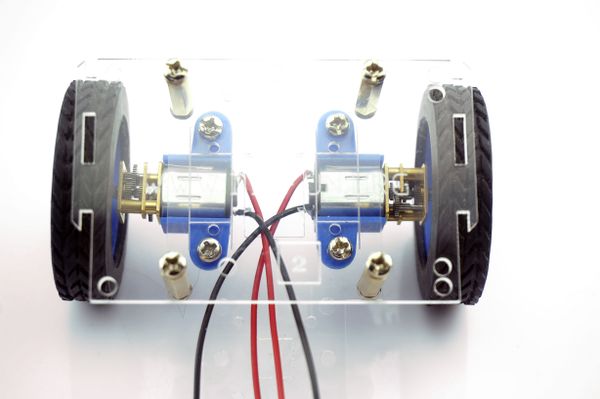
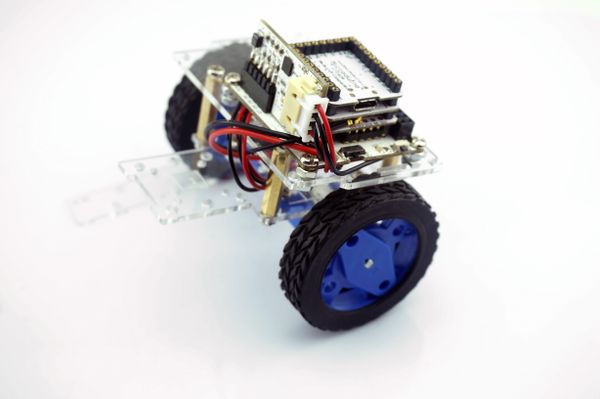
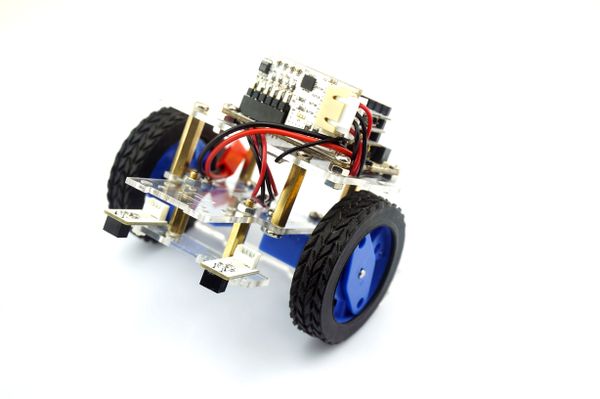
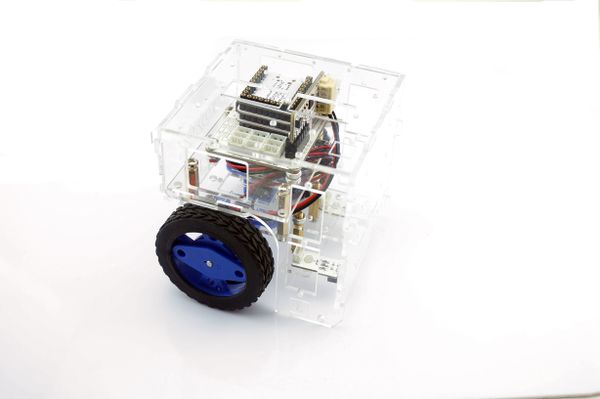
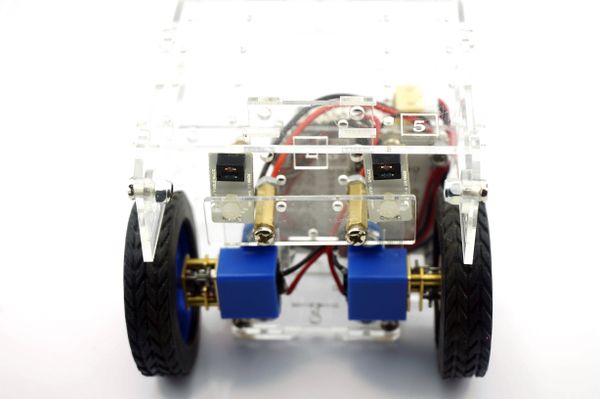
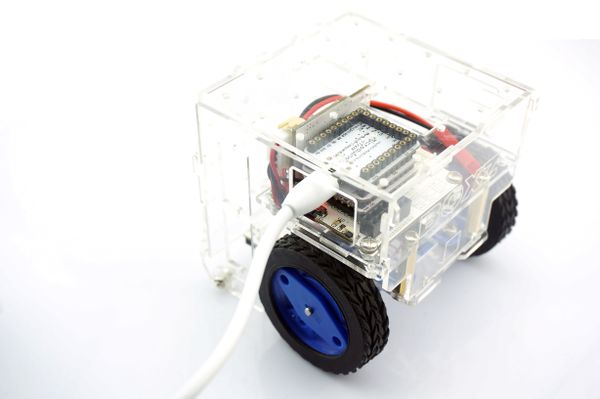
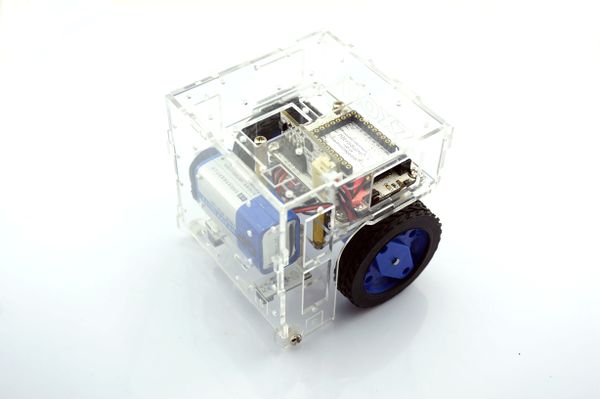
PrincipleMicroduino BOXZ Mini Robot is driven by two wheels, which can move around under the control of Microduino-Joypad. So, you only need to control the rotation direction of the two wheels if you want to control the robot. StructureThe structure of the robot is simple, including three parts:
AdvantageThe robot is highly integrated with less wire, ready to plug in for use. It is simple and powerful. Bill of Material
DocumentMicroduino-Joypad DebuggingBuild Microduino-Joypad
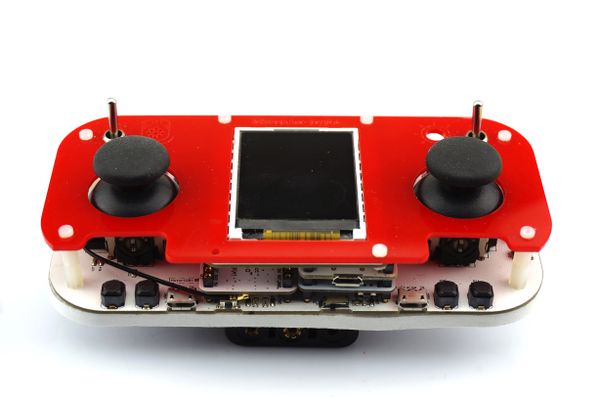
Microduino-Joypad buildup reference Microduino-Joypad Getting start。 You also need to stack Microduino-nRF24 on the base board of Microduino-Joypad. Software Debugging
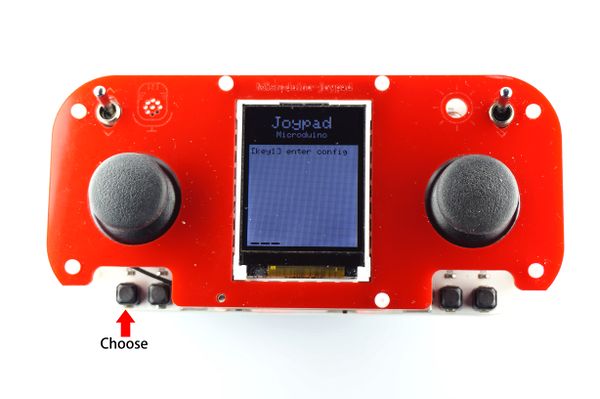
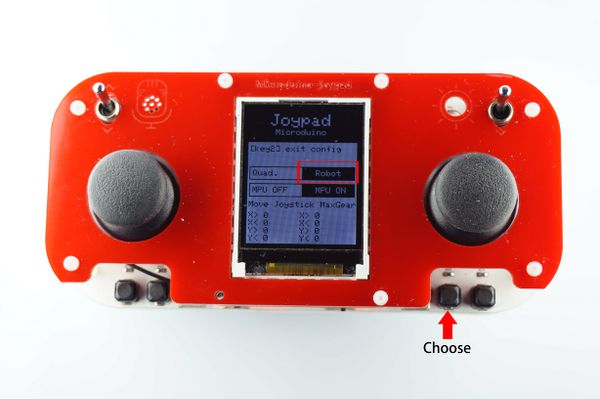
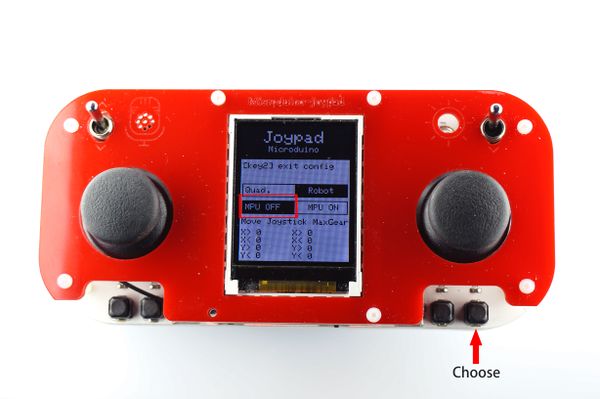
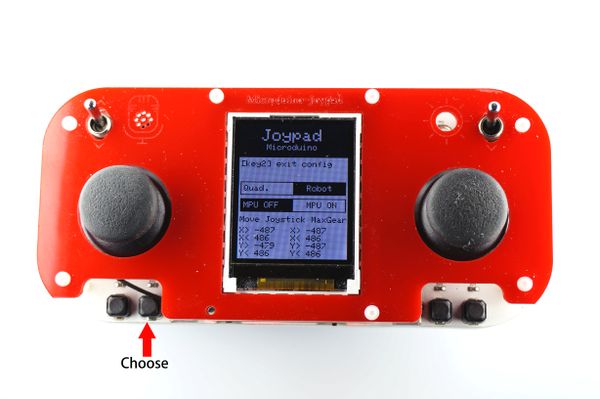
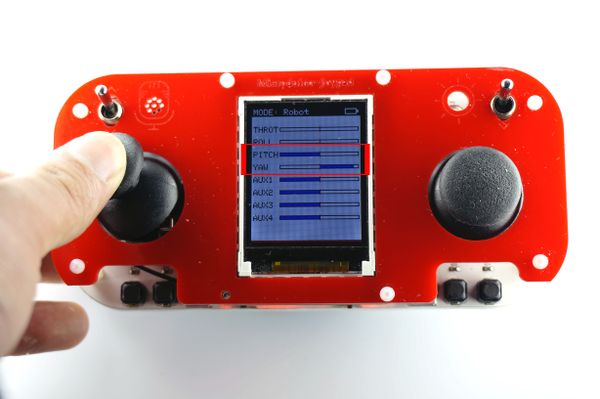
Debug Microduino-Joypad
Build BOXZ mini
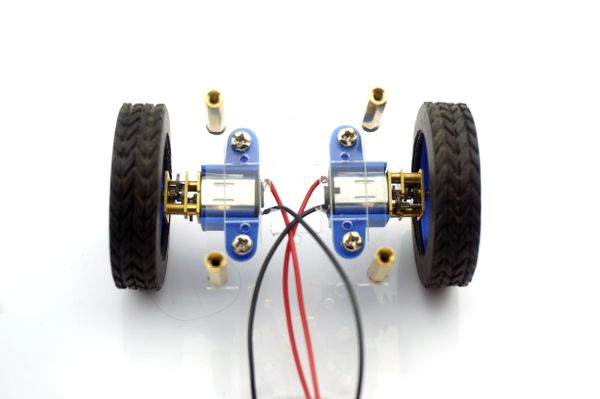
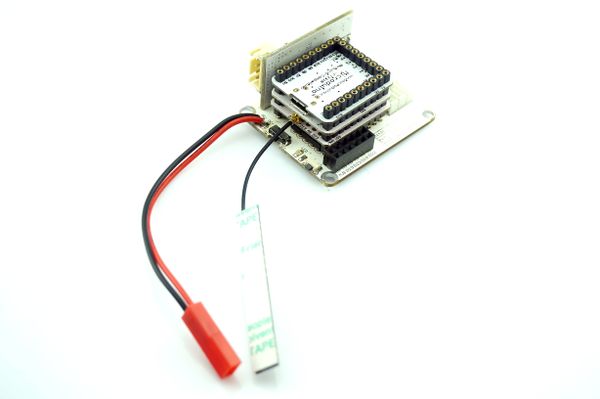
Hardware Buildup
Notice: Make sure Core+ is at the bottom and Microduino-Motor on the base board off M.A.
Software Debugging
https://github.com/Microduino/Microduino_Tutorials/tree/master/Microduino_Joypad/Robot_v0.1
int mic_left = 6;
int mic_right = 8;
int mic_head = 5;
int mic_back = 7;
Eg. If the left and the right rotation is opposite, you can change: int mic_left = 7;
int mic_right = 5;
int mic_head = 8;
int mic_back = 6;
|
