Difference between revisions of "Microduino-Shield Robot"
From Microduino Wiki
| (One intermediate revision by one other user not shown) | |||
| Line 6: | Line 6: | ||
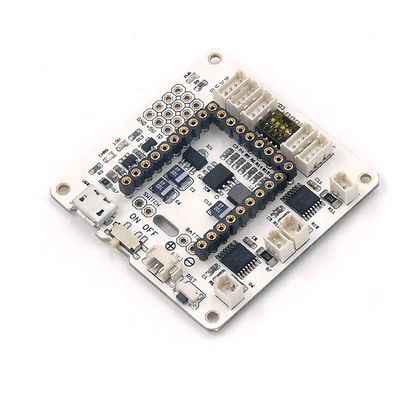
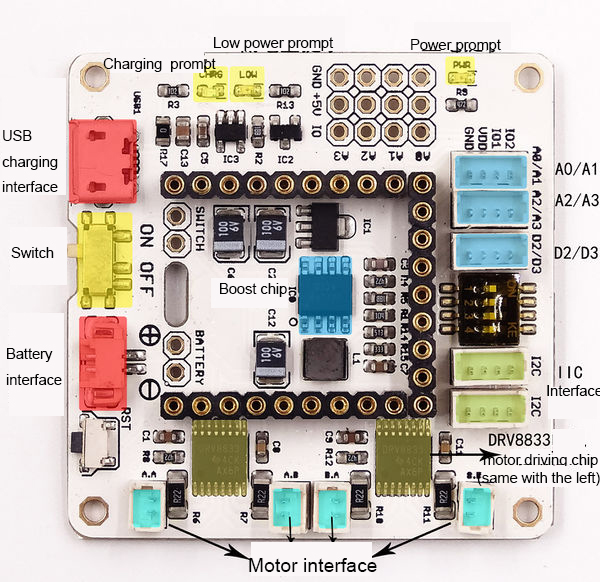
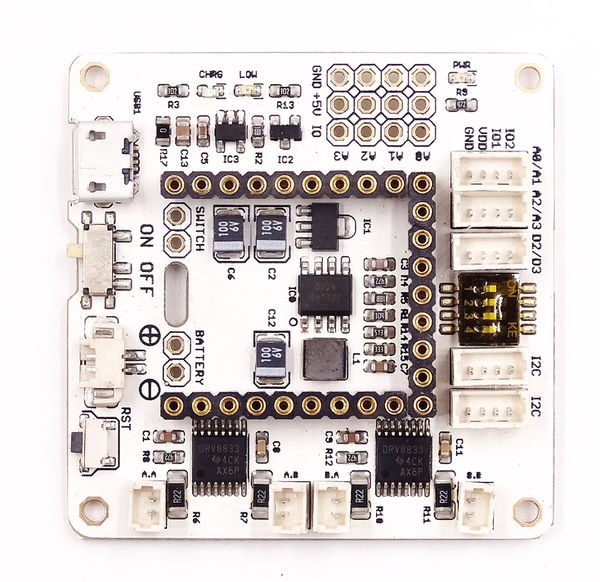
Microduino-Robot shield, as a DC motor control board, can control 4 DC motors together with [[Microduino-Core]] and [[Microduino-Core+]]. And at the same time with sensor interfaces onboard, the users can connect it with varieties of sensors to achieve more functions. | Microduino-Robot shield, as a DC motor control board, can control 4 DC motors together with [[Microduino-Core]] and [[Microduino-Core+]]. And at the same time with sensor interfaces onboard, the users can connect it with varieties of sensors to achieve more functions. | ||
| + | The sensor / trinket connector are 4 pin, 1.25mm pitch JST connectors. | ||
| + | |||
| + | The motor connector are 2 pin, 1.25mm pitch JST connectors. | ||
==Features== | ==Features== | ||
| Line 145: | Line 148: | ||
==Application== | ==Application== | ||
| − | ==='''[[Open Source Electric | + | ==='''[[Open Source Electric Drive Cube Robot]]'''=== |
==Purchase== | ==Purchase== | ||
Latest revision as of 20:12, 21 February 2017
| Language: | English • 中文 |
|---|
|
Microduino-Robot shield, as a DC motor control board, can control 4 DC motors together with Microduino-Core and Microduino-Core+. And at the same time with sensor interfaces onboard, the users can connect it with varieties of sensors to achieve more functions. The sensor / trinket connector are 4 pin, 1.25mm pitch JST connectors. The motor connector are 2 pin, 1.25mm pitch JST connectors. ContentsFeatures
Specification
Document
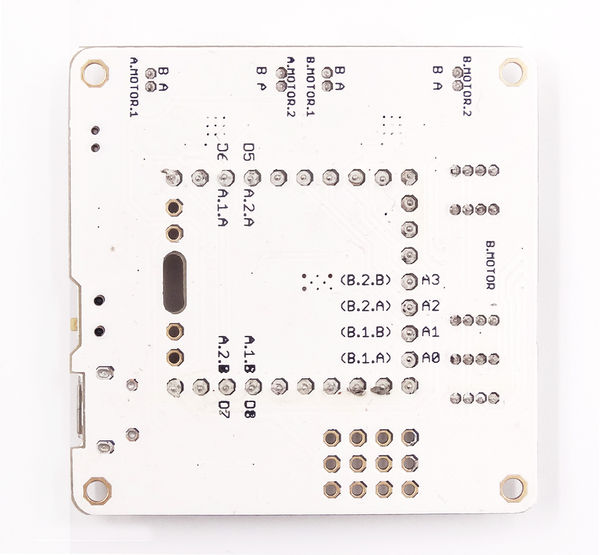
DevelopmentDC Motor WiringConnect a DC motor to(A.MOTOR.1), and the other to (A.MOTOR.2); Or one to (B.MOTOR.1), and the other to (B.MOTOR.2); DC Motor Control Mode
Example: //=========M.A=============//
int mic_left_A = 6;
int mic_right_A = 8;
int mic_head_A = 5;
int mic_back_A = 7;
//=========M.B=============//
/*
int mic_left_A = A0;
int mic_right_A =A1;
int mic_head_A = A2;
int mic_back_A = A3;
*/
void setup() {
pinMode(mic_left_A,OUTPUT);
pinMode(mic_right_A,OUTPUT);
pinMode(mic_head_A,OUTPUT);
pinMode(mic_back_A,OUTPUT);
}
void loop() {
head();
delay(1500);
back();
delay(1500);
left();
delay(1500);
right();
delay(1500);
}
void head()
{
digitalWrite(mic_left_A,LOW);
digitalWrite(mic_right_A,HIGH);
digitalWrite(mic_head_A,HIGH);
digitalWrite(mic_back_A,LOW);
}
void left()
{
digitalWrite(mic_left_A,HIGH);
digitalWrite(mic_right_A,LOW);
digitalWrite(mic_head_A,HIGH);
digitalWrite(mic_back_A,LOW );
}
void right()
{
digitalWrite(mic_left_A,LOW);
digitalWrite(mic_right_A,HIGH);
digitalWrite(mic_head_A,LOW);
digitalWrite(mic_back_A,HIGH);
}
void back()
{
digitalWrite(mic_left_A,HIGH);
digitalWrite(mic_right_A,LOW);
digitalWrite(mic_head_A,LOW);
digitalWrite(mic_back_A,HIGH);
}
void stoop()
{
digitalWrite(mic_left_A,LOW);
digitalWrite(mic_right_A,LOW);
digitalWrite(mic_head_A,LOW);
digitalWrite(mic_back_A,LOW);
}ApplicationOpen Source Electric Drive Cube RobotPurchaseHistoryGallery
Video |


