Difference between revisions of "Microduino Butterfly Light"
From Microduino Wiki
(→Overall Assembling) |
(→Team Introduction) |
||
| (2 intermediate revisions by one other user not shown) | |||
| Line 9: | Line 9: | ||
*Maker: Guysgogo&&Microduino | *Maker: Guysgogo&&Microduino | ||
==Team Introduction== | ==Team Introduction== | ||
| − | + | ||
| Line 42: | Line 42: | ||
|[[Microduino-Lantern]] ||7||Colorful LED light | |[[Microduino-Lantern]] ||7||Colorful LED light | ||
|- | |- | ||
| − | |[[Microduino- | + | |[[Microduino-TOUCH]] ||7||Touch sensor |
|} | |} | ||
*Other Equipment | *Other Equipment | ||
| Line 159: | Line 159: | ||
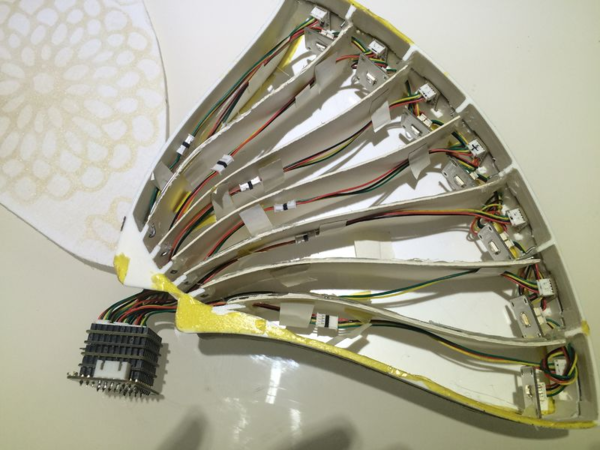
==Overall Assembling== | ==Overall Assembling== | ||
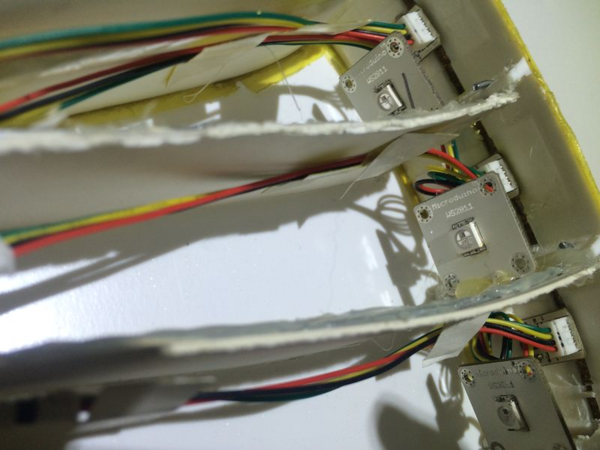
| − | *Fixate the light and the touch sensor on the outside of the 3D | + | *Fixate the light and the touch sensor on the outside of the 3D butterfly. |
[[File:setup_3d_light01.png|600px|center|thumb]] | [[File:setup_3d_light01.png|600px|center|thumb]] | ||
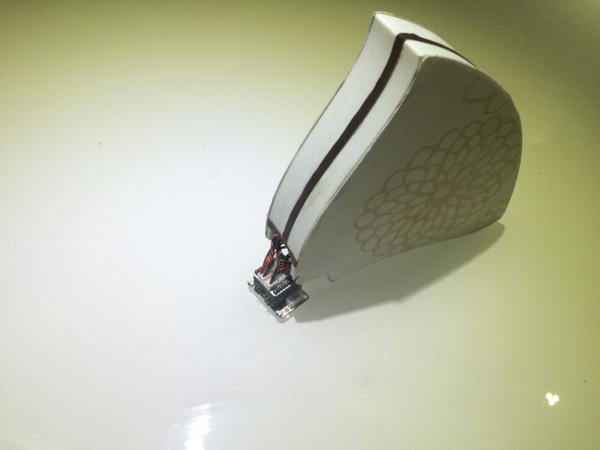
[[File:setup_3d_light02.png|600px|center|thumb]] | [[File:setup_3d_light02.png|600px|center|thumb]] | ||
| − | *Wrap the | + | *Wrap the butterfly with a beautiful exterior. |
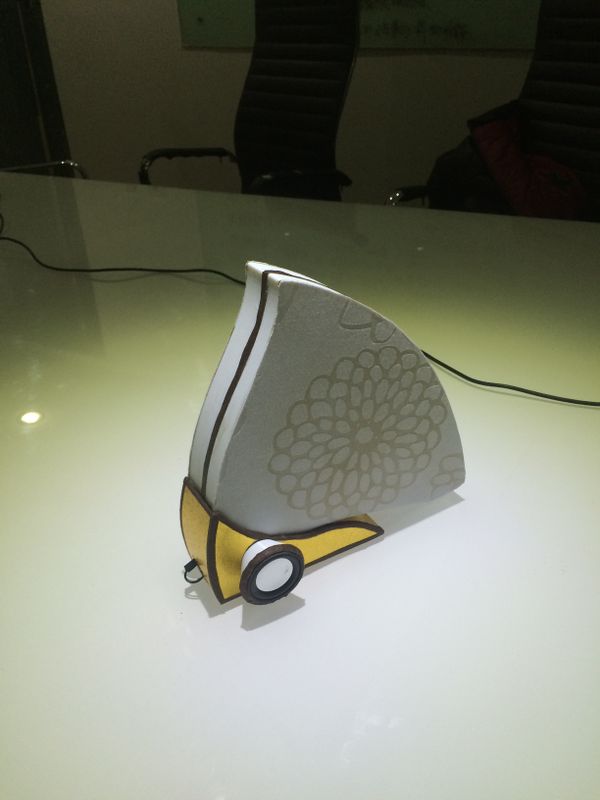
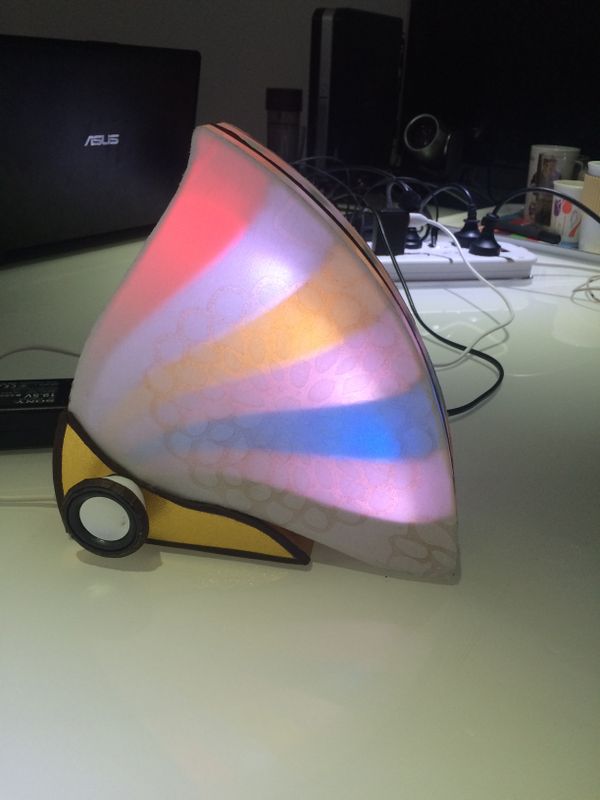
[[File:setup_3d_pagef.png|600px|center|thumb]] | [[File:setup_3d_pagef.png|600px|center|thumb]] | ||
| − | *Fixate the loudspeaker on the base and then get it fixated with the | + | *Fixate the loudspeaker on the base and then get it fixated with the butterfly. |
[[File:setup_3d_buzzer.jpg|600px|center|thumb]] | [[File:setup_3d_buzzer.jpg|600px|center|thumb]] | ||
Latest revision as of 02:32, 28 January 2016
ContentsOutline
Team IntroductionGuysgogo is team composed of four senior students in the maker class of LKK Intelligent Hardware Industrial Design. Three of the students—Run Jiang, Huiyu Hao, Tingyu Li and Chaohui Xie, are college students from Hebei. | ||||||||||||||||||||||||||||||||||||
Bill of Material
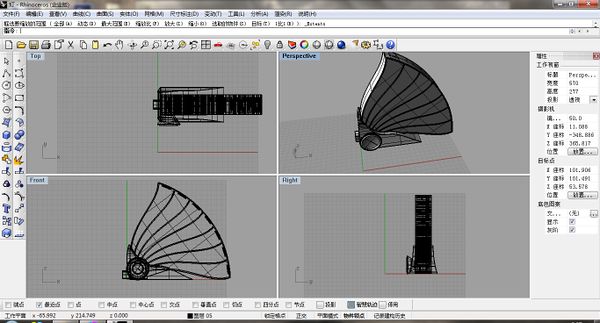
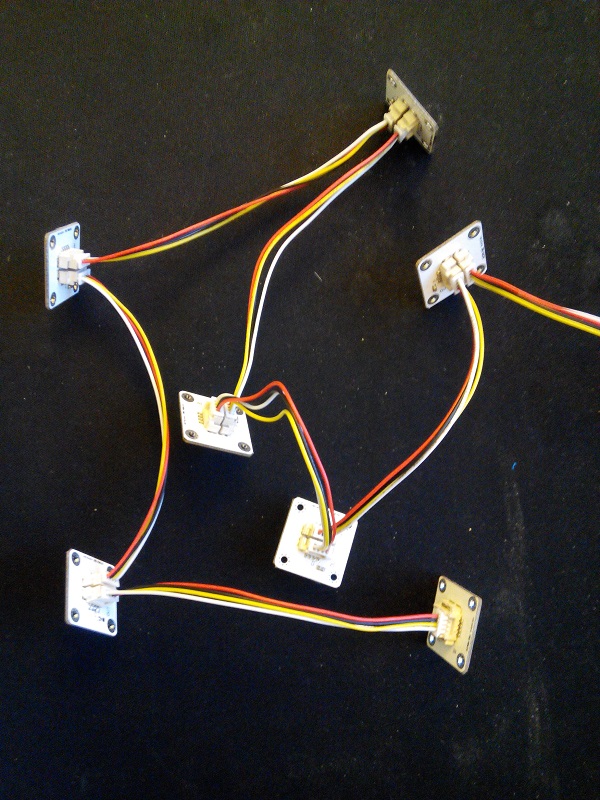
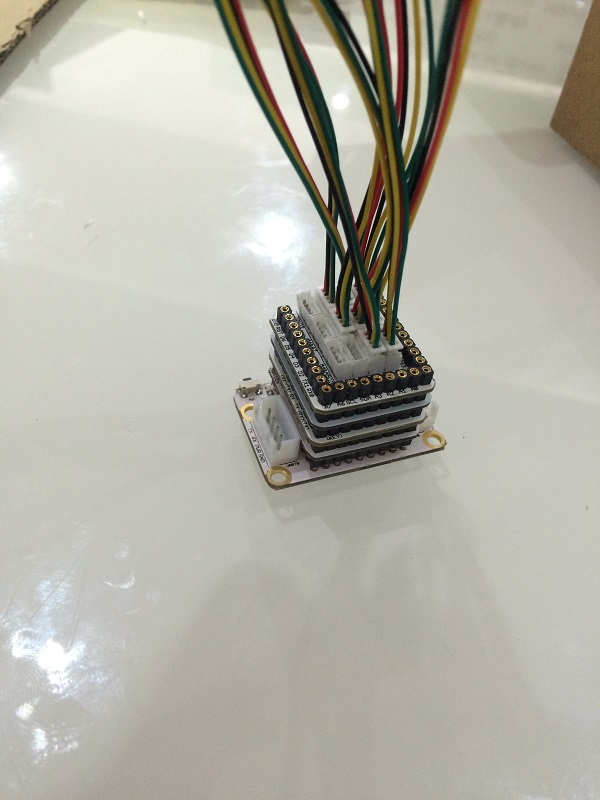
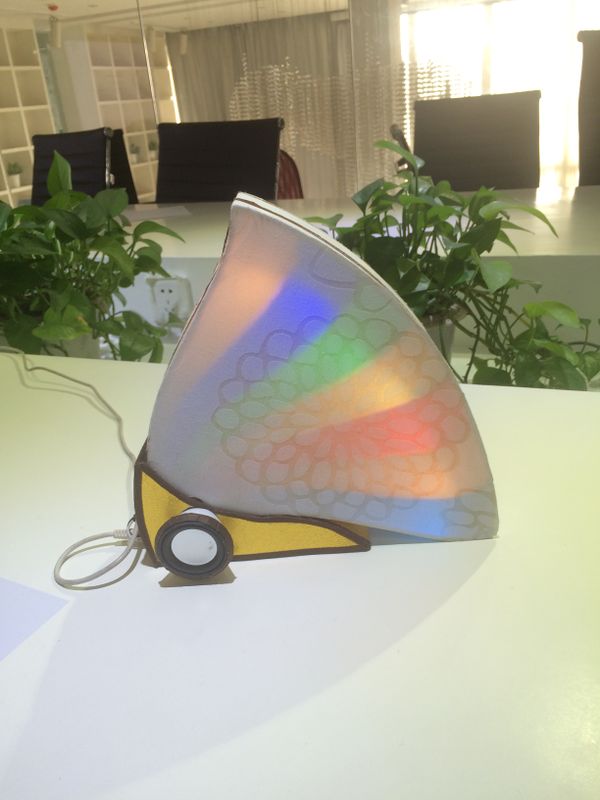
DocumentProgram download: Butterfly_light 3D model download: File:3D-Butterfly light.zip Build 3D ModelThe model adopts buttery shape. Build Hardware Circuit
Prepare Audio
Software DebuggingProgram Description
  int sensor_pin[7]=
{
  4,8,10,12,A0,A2,A6
};
#define PIN 6
Adafruit_NeoPixel strip = Adafruit_NeoPixel(7, PIN, NEO_GRB + NEO_KHZ800);
  for(int a=0;a<7;a++)
  {
    {
      if(key_get(sensor_pin[a],1))		//When triggered,
      {
        //colorWipe(strip.Color(255, 255, 0), 10);
        sensor_vol_cache[a]++;	//Counting
        // Serial.print("+");
        if(sensor_vol_cache[a]>3)
          sensor_vol_cache[a]=3;

        {
          colorWipe(color[8], a);

          num=a;

          audio_choose(a+1);
          audio_play();

          colorWipe(color[0], a);
        }

        time1[a]=millis();
      }

      if(millis()-time1[a]>500 && sensor_vol_cache[a]!=0)	//Just start it and delay for one second or more, and the scan is ended.
      {
        if(sensor_vol_cache[a]==1)
        {
          colorWipe(color[0], a);
          Serial.println("LED_OFF");
        }
        else if(sensor_vol_cache[a]==2)
        {
          colorWipe(color[8], a);
        }
        else
        {
          randomSeed(millis()%1000);
          sensor_vol[a]=random(1,7);
          Serial.println("");
          Serial.print("num:");
          Serial.print(a);
          Serial.print(":");
          Serial.print(sensor_vol[a]);

          colorWipe(color[sensor_vol[a]], a);
        }
        sensor_vol_cache[a]=0;		//Return to zero and wait for the next scan.
      }
    }
  }
Program Download
Overall Assembling
Notice
Video |
