Difference between revisions of "Chameleon"
(→Equipment) |
|||
| (One intermediate revision by the same user not shown) | |||
| Line 9: | Line 9: | ||
==Principle== | ==Principle== | ||
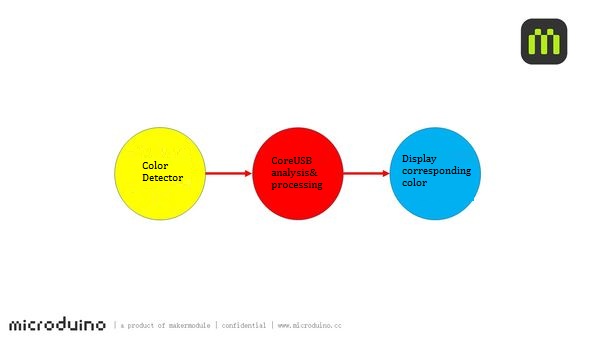
The color sensor can read color values and then be analyzed by CoreUSB to get the light to show the corresponding color. | The color sensor can read color values and then be analyzed by CoreUSB to get the light to show the corresponding color. | ||
| − | [[File: | + | [[File: Microduino11Chameleon-sch.jpg|600px|center]] |
| + | |||
==Equipment== | ==Equipment== | ||
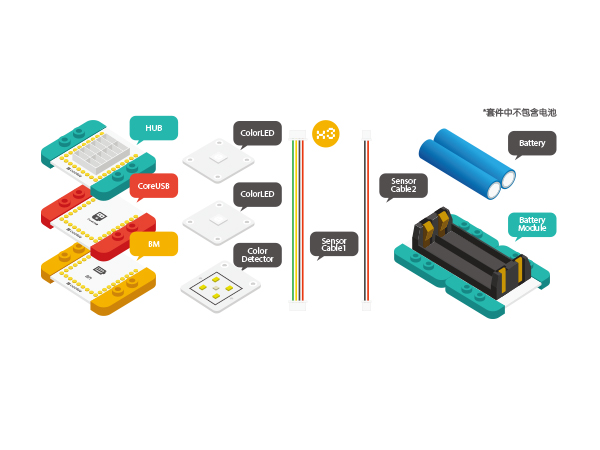
{|class="wikitable" | {|class="wikitable" | ||
| Line 19: | Line 20: | ||
|[[mCookie-Hub]]||1||Sensor pin board | |[[mCookie-Hub]]||1||Sensor pin board | ||
|- | |- | ||
| − | |[[Microduino-Color | + | |[[Microduino-Color Detector]]||1||Color sensor |
|- | |- | ||
|[[Microduino-Light]]||1||Light-sensitive sensor | |[[Microduino-Light]]||1||Light-sensitive sensor | ||
Latest revision as of 05:13, 28 January 2016
| Language: | English • 中文 |
|---|
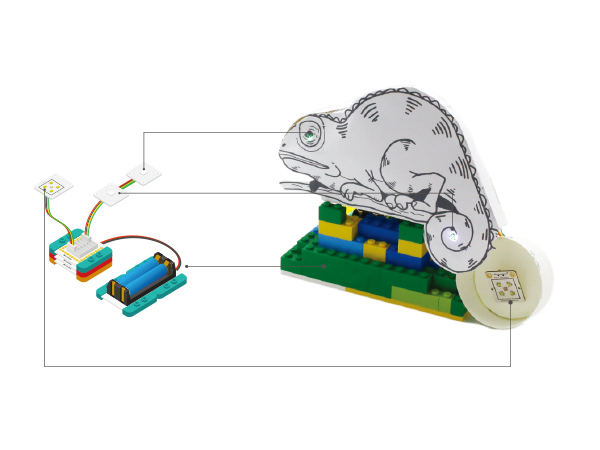
ContentsObjectiveHere we adopt a color sensor to read color value from a object around you and the LED light on the sensor will turn to the corresponding color as the object. PrincipleThe color sensor can read color values and then be analyzed by CoreUSB to get the light to show the corresponding color. Equipment
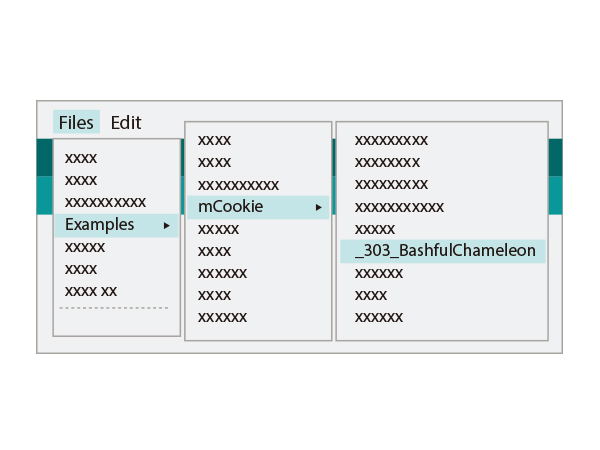
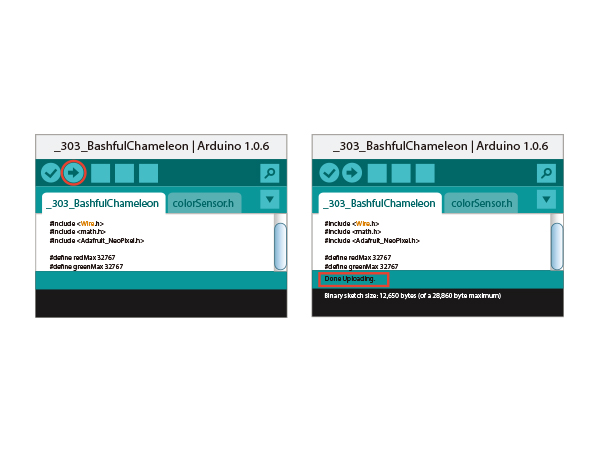
Preparation
Program Description
#define PIN 6

Adafruit_NeoPixel strip = Adafruit_NeoPixel(1, PIN, NEO_GRB + NEO_KHZ800);
  redValue=map(red, 1024, 2048, 0, 255);
  greenValue=map(green, 1800, 2824, 0, 255);
  //blueValue=map(blue, 1024, 2048, 0, 255);
  blueValue=map(blue, 1024, 1792, 0, 255);
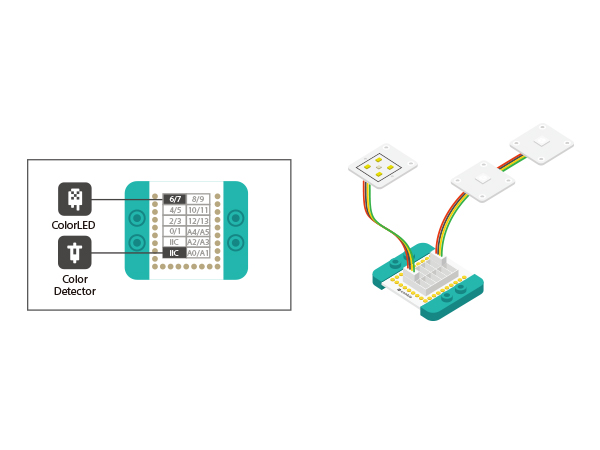
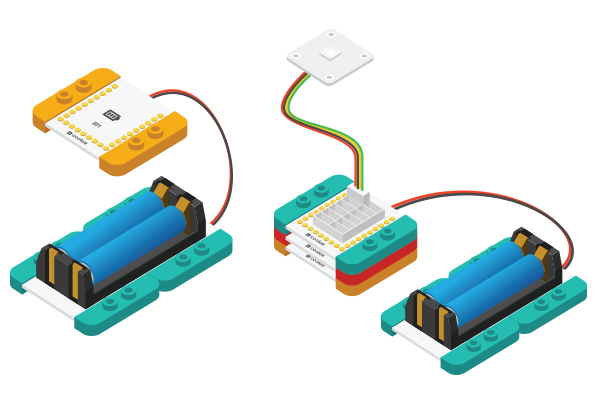
Hardware Buildup
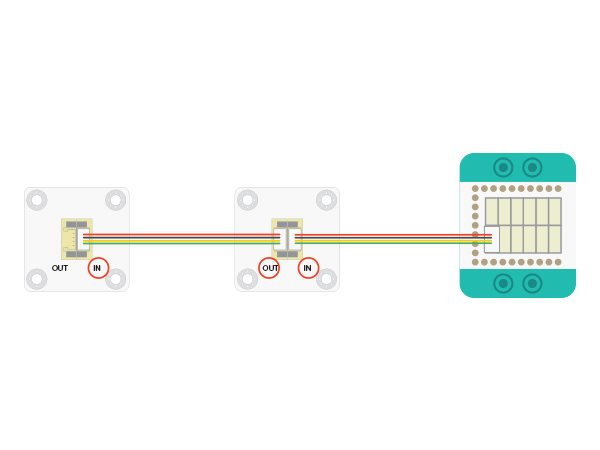
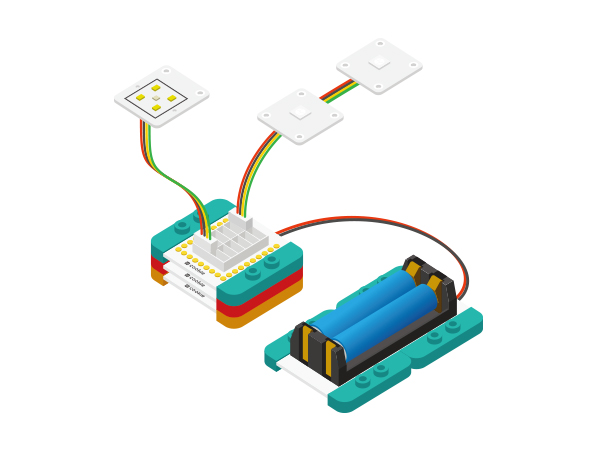
LED light's connection method can refer to the picture above. Please mind the connection order, which starts from LED's IN interface to OUT.
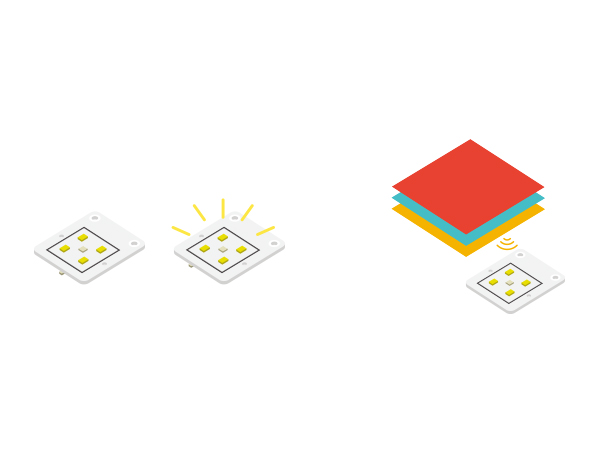
In bad light, you can turn off LED light on the color sensor. Get the dice in the middle of the color sensor close to any object with different color and the led light will change accordingly. Reference color: ResultYou can DIY your LEGO chameleon. Just put the color sensor close the object and the color of the LED light will change to the same as the object. Video |
