Difference between revisions of "Open Source Smart Rainbow Music Touch Lamp"
From Microduino Wiki
(Created page with "{{Language|Microduino-yyyyyyyy}} {| style="width: 800px;" |- | ==Outline== *Project:Open source smart rainbow music touch lamp *Objective:When someone touch it, the corre...") |
|||
| (6 intermediate revisions by 2 users not shown) | |||
| Line 4: | Line 4: | ||
| | | | ||
==Outline== | ==Outline== | ||
| − | * | + | *Project: Open source smart rainbow music touch lamp |
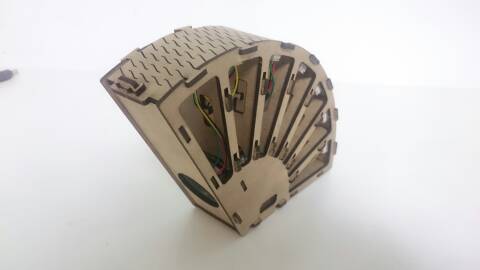
| − | * | + | *Objective: When someone touch it, the corresponding lamp will light and produce a note. |
*Difficulty:Medium | *Difficulty:Medium | ||
| − | *Time- | + | *Time-consuming: 2 hours |
| − | * | + | *Maker: ray |
*Introduction: | *Introduction: | ||
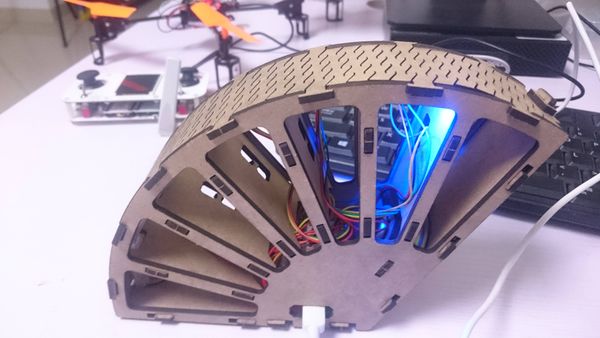
**Use Microduino product module to build a smart rainbow music touch lamp quickly . | **Use Microduino product module to build a smart rainbow music touch lamp quickly . | ||
| Line 59: | Line 59: | ||
==Principle of the Experiment== | ==Principle of the Experiment== | ||
| − | *Open source smart rainbow music touch lamp is mainly divided into '''touch monitoring''' and '''audio playing''' two | + | *Open source smart rainbow music touch lamp is mainly divided into '''touch monitoring''' and '''audio playing''' two part: |
| − | **'''Touch detection part''' | + | **'''Touch detection part''': Adopt button-touching sensor'''[[Microduino-TOUCH]]''', which can detect whether someone has touched it. |
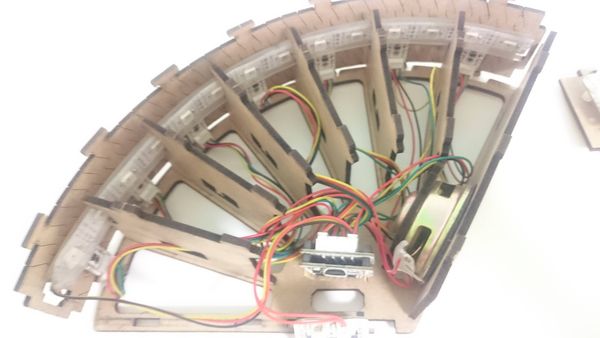
***Control part is mainly sound and light control. Light-emitting devices adopt light belts that there are 14 lights in one belt, which can make the rainbow lamps appear beautiful color. | ***Control part is mainly sound and light control. Light-emitting devices adopt light belts that there are 14 lights in one belt, which can make the rainbow lamps appear beautiful color. | ||
**'''Audio playing part''':Manage audio files through '''[[Microduino-Audio]]''' module. | **'''Audio playing part''':Manage audio files through '''[[Microduino-Audio]]''' module. | ||
| Line 72: | Line 72: | ||
*Overlay '''[[Microduino-Core]]''' and '''[[Microduino-USBTTL]]''' together. | *Overlay '''[[Microduino-Core]]''' and '''[[Microduino-USBTTL]]''' together. | ||
**Connect the '''[[Microduino-USBTTL]]''' with USB cable ,and prepare to upload the program. | **Connect the '''[[Microduino-USBTTL]]''' with USB cable ,and prepare to upload the program. | ||
| − | ** | + | **Note: Please upload programs before stacking all modules together. |
| − | *Open Arduino IDE for Microduino environment, (reference to set | + | *Open Arduino IDE for Microduino environment, (reference to set up: '''[[AVR Core:Getting started]]''') |
| − | *Click'''[ | + | *Click'''[Tool]''', and confirm that '''board card(Microduino-Core)processor(Atmega328P@16M,5V)''' selected correctly, and select the corresponding '''port number (COMX)''' |
| − | *Click '''[File]'''->'''[open]''', browse to the project program address, and click ''' | + | *Click '''[File]'''->'''[open]''', browse to the project program address, and click '''"BluButterflyLight.ino"''' to open the program. |
*After all these items are correct, click '''"→"''' button to download program to the development board. | *After all these items are correct, click '''"→"''' button to download program to the development board. | ||
==Store Audio== | ==Store Audio== | ||
| − | *Audio storage methods please refer to the following | + | *Audio storage methods please refer to the following page: '''[https://www.microduino.cn/wiki/index.php/Microduino-Module_Audio/zh#.E5.BC.80.E5.8F.91 Download audio]''' |
==Assemble the rainbow touch lamp== | ==Assemble the rainbow touch lamp== | ||
*'''Step1''': | *'''Step1''': | ||
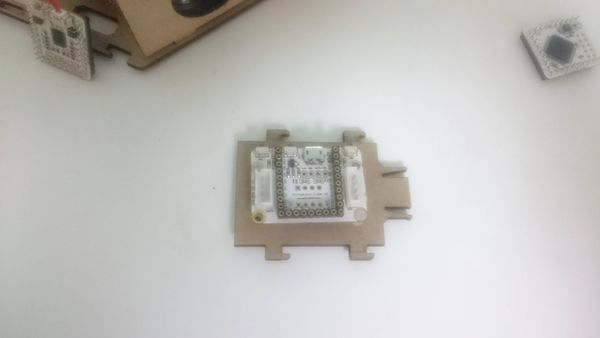
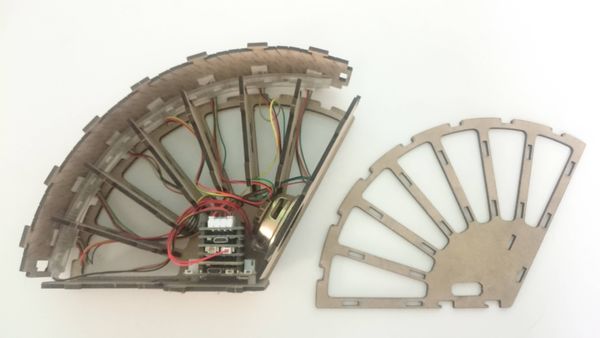
| − | **While assembling, first fix '''[[Microduino- | + | **While assembling, first fix '''[[Microduino-Cube-S1]]''' board on the baseboard with '''nylon screw'''. |
[[File:Microduino_3.jpg||600px|center]] | [[File:Microduino_3.jpg||600px|center]] | ||
| Line 95: | Line 95: | ||
*'''Step3''': | *'''Step3''': | ||
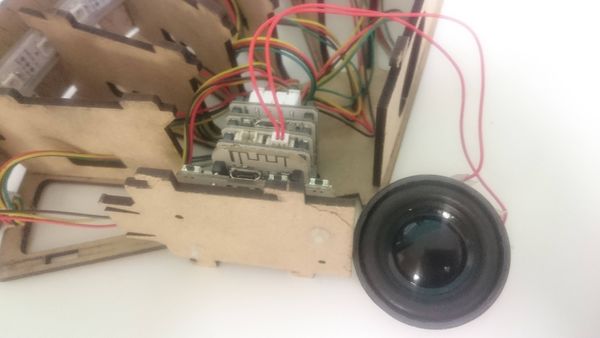
| − | **Connect the horn to the interface of '''[[Microduino-Amplifier]]''(no left and right order difference). | + | **Connect the horn to the interface of '''[[Microduino-Amplifier]]'''(no left and right order difference). |
[[File:Microduino_5.jpg||600px|center]] | [[File:Microduino_5.jpg||600px|center]] | ||
*'''Step4''': | *'''Step4''': | ||
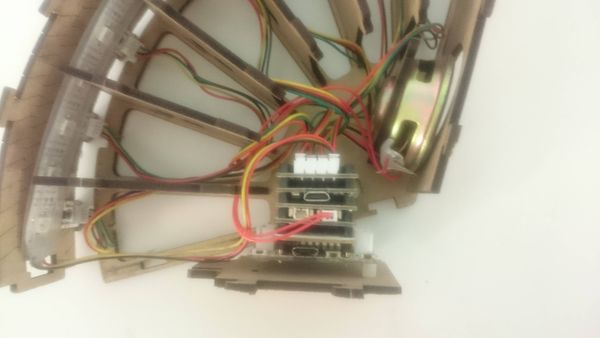
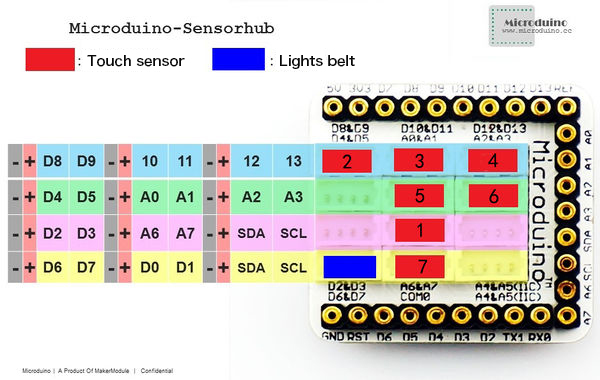
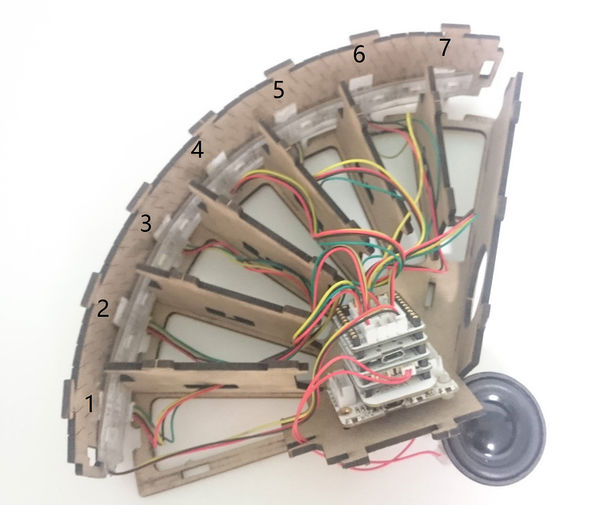
| − | **The corresponding port number of the '''Touch sensor''' and '''lights belt''' in '''[[Microduino-Sensorhub]]''' is ''as shown in the picture'''. | + | **The corresponding port number of the '''Touch sensor''' and '''lights belt''' in '''[[Microduino-Sensorhub]]''' is '''as shown in the picture'''. |
[[File:Microduino_6.JPG||600px|center]] | [[File:Microduino_6.JPG||600px|center]] | ||
Latest revision as of 06:23, 30 September 2016
| Language: | English • 中文 |
|---|
ContentsOutline
Bill of Material
Principle of the Experiment
Program Download
Programming
Store Audio
Assemble the rainbow touch lamp
Operating Instruction
video |
