Difference between revisions of "Compass"
(→Debugging) |
|||
| Line 26: | Line 26: | ||
==Debugging== | ==Debugging== | ||
| − | Step | + | Step 1: Building the hardware environment according to the schematic diagram, just like this: |
[[File:compass_simulatorConnectionDiagram.jpg|600px|center|thumb]] | [[File:compass_simulatorConnectionDiagram.jpg|600px|center|thumb]] | ||
| − | Step | + | Step 2: Here is the code we need: |
The code of the two ends (Processing and Microduino) | The code of the two ends (Processing and Microduino) | ||
| Line 65: | Line 65: | ||
isNumeric(String str) | isNumeric(String str) | ||
| − | Step | + | Step 3: Uploading the code and get it compiled successfully. |
| − | Step | + | Step 4: After the system goes smoothly, you can use a magnet to change the magnetic field and see if there is any change. |
==Result== | ==Result== | ||
Latest revision as of 09:19, 13 September 2016
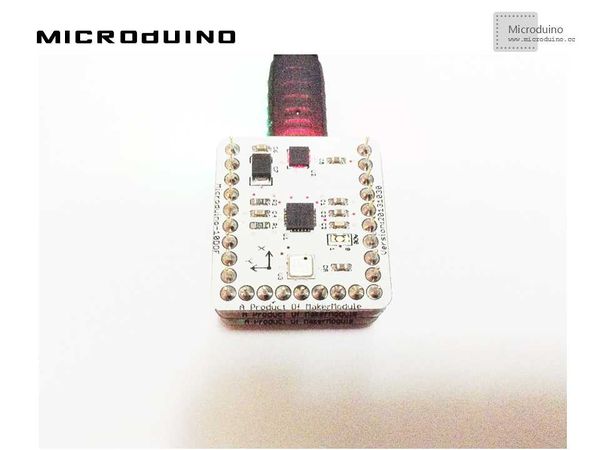
ObjectiveThe course will show you how to simulate a compass on Processing by presenting the data of magnetic field strength detected by Microduino-10DOF module. Equipment
Schematic DiagramThe HMC5883L magnetic field strength sensor of Microduino-10DOF will be available. ProgramReferring to compassMicroduino compass_simulator DebuggingStep 1: Building the hardware environment according to the schematic diagram, just like this:
The code of the two ends (Processing and Microduino) Microduino: //The data of the magnetic field strength will be displayed on Processing via serial output void loop()
{
mag.getHeading(&mx, &my, &mz);
Serial.print(mx);
Serial.print(",");
Serial.println(my);
}
Processing: //After getting the data of the first serial port, defining them or caching them if there is a new line // is always my Arduino, so I open Serial.list()[0]. // Open whatever port is the one you're using.
myPort = new Serial(this, Serial.list()[0], 9600);
myPort.bufferUntil('\n'); // Trigger a SerialEvent on new line
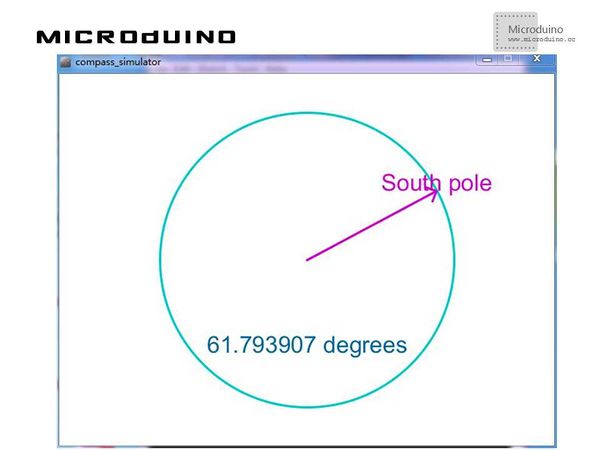
//Presenting the data obtained from Microduino on the screen in the form of curves with different color and then marking them Function Description: //Drawing a magnetic field pointer arrow(int x1, int y1, int x2, int y2, color c) //Judging whether can convert them into numbers or not isNumeric(String str) Step 3: Uploading the code and get it compiled successfully. Step 4: After the system goes smoothly, you can use a magnet to change the magnetic field and see if there is any change. ResultThere will be a simple compass displayed on the screen and the pointer will be changed along with the change of the magnetic field. As follows: Video |

