Difference between revisions of "Getting started: Microduino IDE for Windows"
From Microduino Wiki
(→Installation) |
(→Confirm Drivers Installed Successfully) |
||
| Line 24: | Line 24: | ||
=Confirm Drivers Installed Successfully= | =Confirm Drivers Installed Successfully= | ||
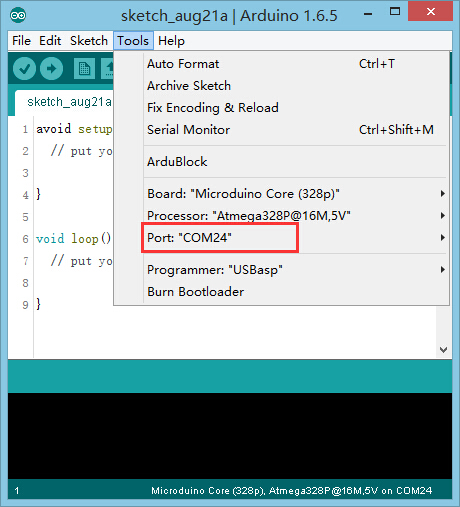
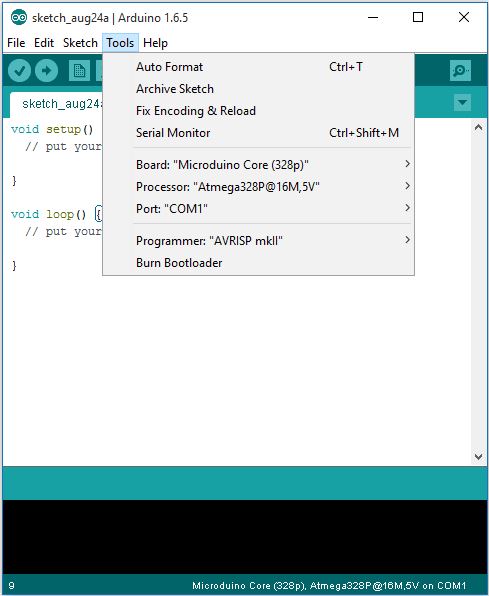
*Connect [[Microduino-USBTTL]] to your computer. Verify that there are available Port options under Tools. | *Connect [[Microduino-USBTTL]] to your computer. Verify that there are available Port options under Tools. | ||
| − | [[File:microduinoGettingStart-USBTTL.jpg| | + | [[File:microduinoGettingStart-USBTTL.jpg|500px|center|thumb]] |
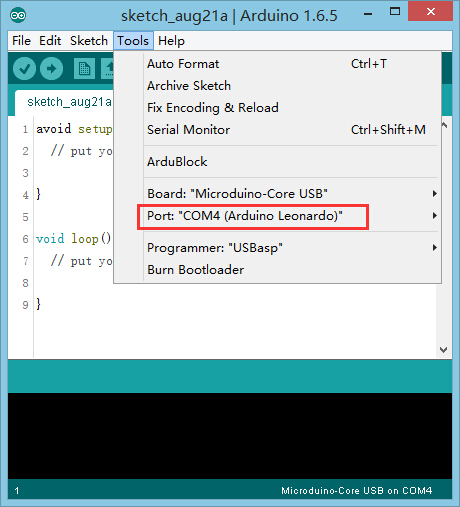
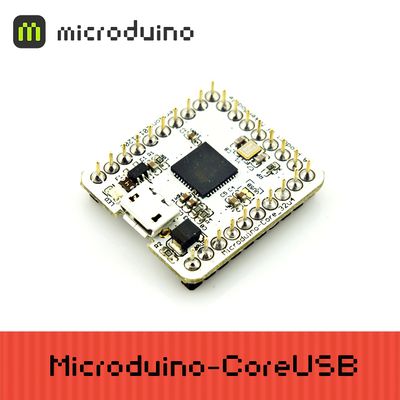
*Connect [[Microduino-CoreUSB]] or [[mCookie-CoreUSB]] to your computer. Verify that there are available Port options under Tools. | *Connect [[Microduino-CoreUSB]] or [[mCookie-CoreUSB]] to your computer. Verify that there are available Port options under Tools. | ||
| − | [[File:microduinoGettingStart-CoreUSB.jpg| | + | [[File:microduinoGettingStart-CoreUSB.jpg|500px|center|thumb]] |
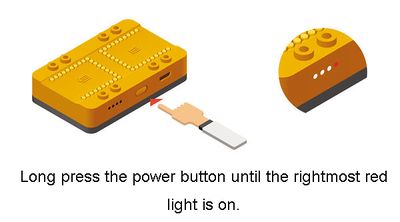
*Connect [[mCookie-Battery]] to your computer and stack a Core module onto it. | *Connect [[mCookie-Battery]] to your computer and stack a Core module onto it. | ||
[[File:MBattery-t.jpg|400px|center|thumb]] | [[File:MBattery-t.jpg|400px|center|thumb]] | ||
<blockquote>IMPORTANT: Ensure that mBattery is "ON" by pressing and holding the button. A red LED should be on, which indicates that power is being supplied to the Core modules.</blockquote> | <blockquote>IMPORTANT: Ensure that mBattery is "ON" by pressing and holding the button. A red LED should be on, which indicates that power is being supplied to the Core modules.</blockquote> | ||
*Verify that there are available Port options under Tools. | *Verify that there are available Port options under Tools. | ||
| − | [[File:microduinoGettingStart-USBTTL.jpg| | + | [[File:microduinoGettingStart-USBTTL.jpg|500px|center|thumb]] |
Revision as of 21:56, 21 March 2017
| Language: | English • 中文 |
|---|
ContentsDownload
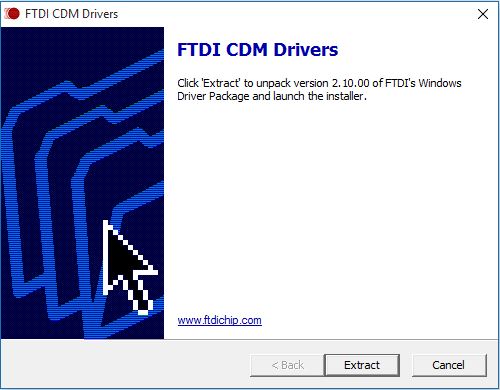
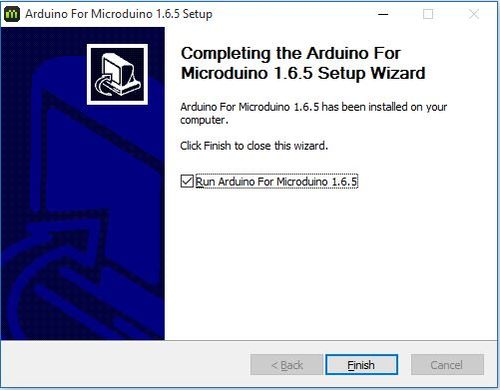
https://www.microduino.cc/download Installation
Confirm Drivers Installed Successfully
IMPORTANT: Ensure that mBattery is "ON" by pressing and holding the button. A red LED should be on, which indicates that power is being supplied to the Core modules.
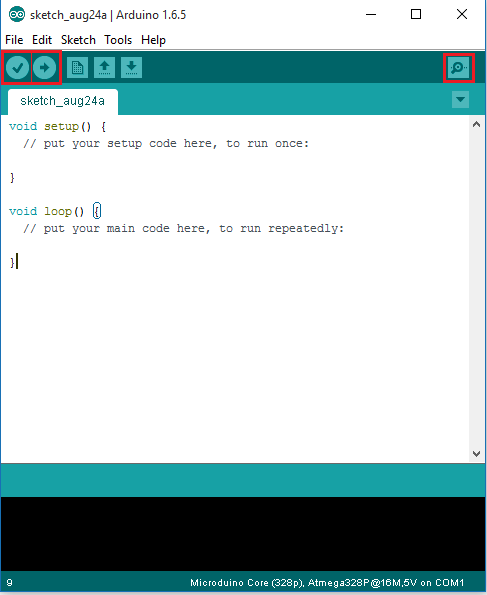
Arduino IDE BasicsInterface
Tools
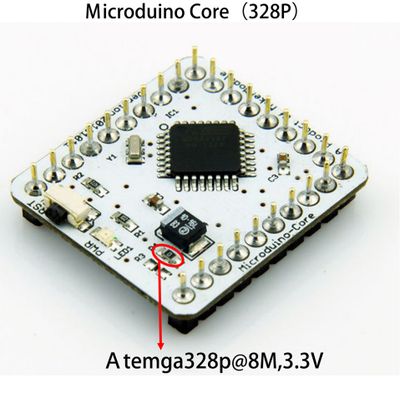
The Board Types
Uploading Code
|
