|
The product number of Sensor-Touch Button is: MSDS21
Sensor-Touch Button is capacitive touch button sensor module.
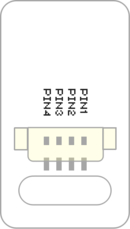
Introduction of Sensor Pin
Touch Button
| General Pin Out
|
Sensor / Trinket's Pin Out
|
| PIN1 (GND)
|
GND
|
| PIN2 (VCC)
|
VCC
|
| PIN3 (SIGNAL-A)
|
Digital Input
|
| PIN4 (SIGNAL-B)
|
Not Connected
|
- General Pin Out is the standard pin out of a Sensor / Trinket connector.
- Sensor / Trinket's Pin Out is this specific Sensor / Trinket's wiring in relation to the General Pin Out.
- SIGNAL-A / SIGNAL-B are signals that could be digital input, digital output, analog input or analog output. Or special signals such as serial communication (SoftwareSerial, IIC (I2C), etc) or other special signals.
- Not Connected refers to the Pin not being used for this particular Sensor / Trinket.
- Read more about the hub module.
About
Specification
- Sensor voltage
- Size of the sensor
- Size of the board: 23.5mm*13mm
- 1.27mm-spacing 4Pin interface connected with sensorhub.
- CAD drawing of the sensor: File:Sensor CAD.zip
- Function description
- The static signal of the sensor is HIGH. After being touched, the signal changes into LOW.
- Connection
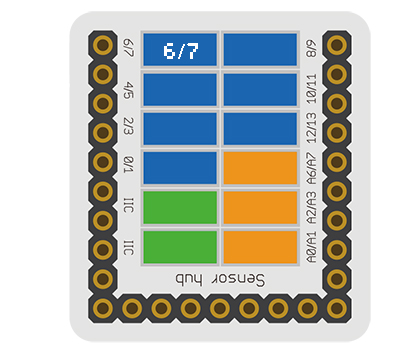
- This sensor can be connected to the following interfaces of the core: D2~D13, A0~A7
Documents
Development
Program Download
Programming
Hardware Setup
- Referring to the following diagram, connect the Sensor-Touch Button to the digital port of Microduino-Sensorhub.
Result
- After download, open the serial monitor.
- The static signal of the senor is HIGH. After being touched, the signal changes into LOW.
Application
Project
History
Gallery
|


