Difference between revisions of "Music Player"
(Created page with "{| style="width: 800px;" |- | ==Objective== The course will show you how to control Microduino modules to achieve a music player by using Processing. ==Equipment== *'''Mi...") |
|||
| Line 30: | Line 30: | ||
==Debugging== | ==Debugging== | ||
| − | Step | + | Step 1: The hardware building of the circuit can refer to: |
http://www.microduino.cc/wiki/index.php?title=Microduino_LM4863%E9%9F%B3%E4%B9%90%E6%92%AD%E6%94%BE%E5%99%A8-301KIT/zh | http://www.microduino.cc/wiki/index.php?title=Microduino_LM4863%E9%9F%B3%E4%B9%90%E6%92%AD%E6%94%BE%E5%99%A8-301KIT/zh | ||
| Line 44: | Line 44: | ||
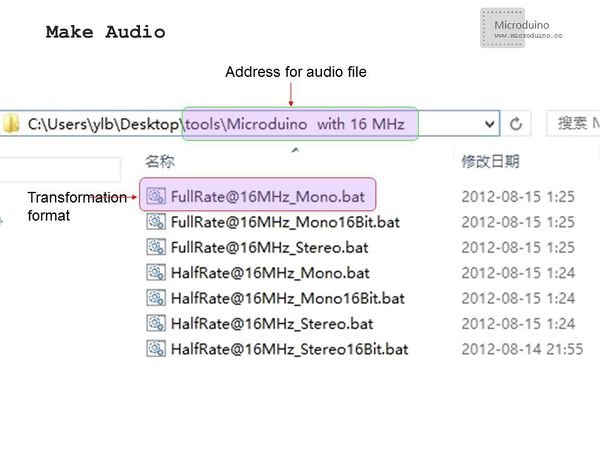
| − | Step | + | Step 2: Audio Production |
*A SoX-based tool will be needed. And you can choose a proper conversion program according to the operational frequency of you Microduino modules. | *A SoX-based tool will be needed. And you can choose a proper conversion program according to the operational frequency of you Microduino modules. | ||
| − | *Extract the file to | + | *Extract the file to "Microduino with 16 MHz" folder and put the audio file into the folder, then select "FullRate@16MHz_Mono.bat" |
|- | |- | ||
| | | | ||
| Line 52: | Line 52: | ||
|- | |- | ||
| | | | ||
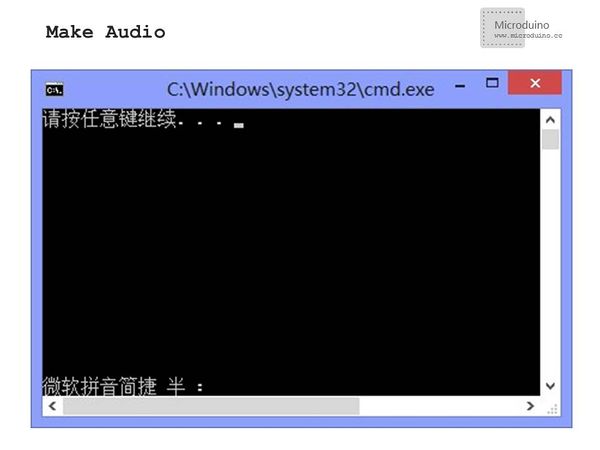
| − | *A dialog box will pop up, showing | + | *A dialog box will pop up, showing "Press any key to continue..." |
|- | |- | ||
| | | | ||
| Line 58: | Line 58: | ||
|- | |- | ||
| | | | ||
| − | *After that, there appears a newly created folder and you will find the converted file inside. If failed, you can convert the audio file to | + | *After that, there appears a newly created folder and you will find the converted file inside. If failed, you can convert the audio file to "wav" format and have another try. |
|- | |- | ||
| | | | ||
| Line 69: | Line 69: | ||
**The name of the audio file should also be changed to that of the generated audio file. | **The name of the audio file should also be changed to that of the generated audio file. | ||
| − | Step 3:Here the code | + | Step 3:Here the code needed: |
The code of two ends (Processing and Microduino) | The code of two ends (Processing and Microduino) | ||
| Line 75: | Line 75: | ||
Microduino: | Microduino: | ||
| − | //The code keeps consistent with that of the | + | //The code keeps consistent with that of the 301 kit of Microduino-LM4863 music player. The difference is the added function of receiving serial data |
if(Serial.available()) | if(Serial.available()) | ||
{ | { | ||
| Line 84: | Line 84: | ||
{ | { | ||
num_two=num_one ; | num_two=num_one ; | ||
| − | if(command=='p') {// | + | if(command=='p') {//'p' means play |
SdPlay.play(); | SdPlay.play(); | ||
Serial.println(F("Play.")); | Serial.println(F("Play.")); | ||
} | } | ||
| − | else if(command=='t') {// | + | else if(command=='t') {//'t' means stop |
SdPlay.pause(); | SdPlay.pause(); | ||
Serial.println(F("Pause.")); | Serial.println(F("Pause.")); | ||
| Line 120: | Line 120: | ||
| − | Step | + | Step 4: Download the code and get it compiled successfully. |
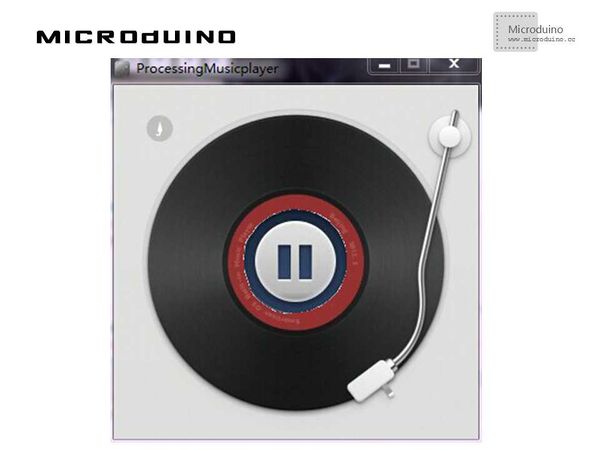
| − | Step | + | Step 5: After the system goes well, a disk music player will appear on the screen. Click the button in the middle to see what happens. |
==Result== | ==Result== | ||
Latest revision as of 09:33, 13 September 2016
ObjectiveThe course will show you how to control Microduino modules to achieve a music player by using Processing. Equipment
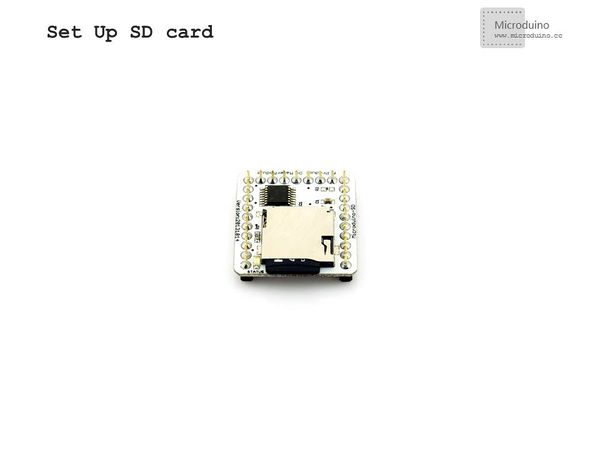
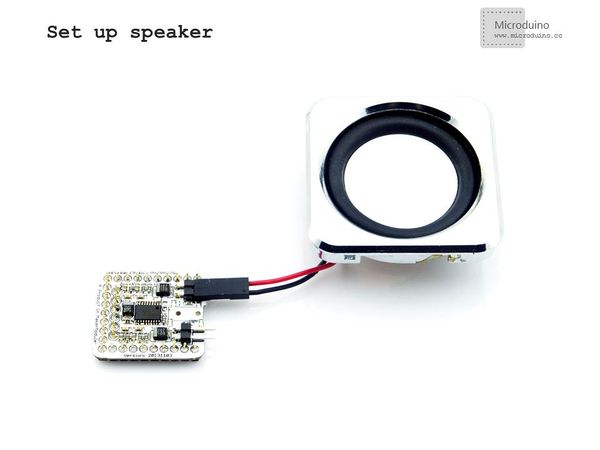
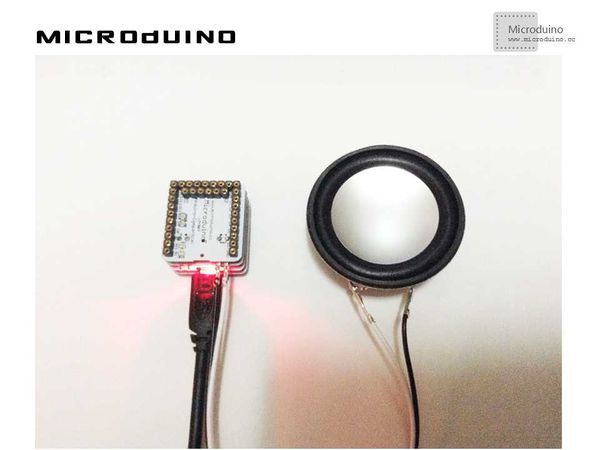
SchematicJust stack the four Microduino modules mentioned above and connect the two wires of the loudspeaker to Microduino-LM4863 ProgramDebuggingStep 1: The hardware building of the circuit can refer to: http://www.microduino.cc/wiki/index.php?title=Microduino_LM4863%E9%9F%B3%E4%B9%90%E6%92%AD%E6%94%BE%E5%99%A8-301KIT/zh
|
|
|
Step 3:Here the code needed: The code of two ends (Processing and Microduino) Microduino: //The code keeps consistent with that of the 301 kit of Microduino-LM4863 music player. The difference is the added function of receiving serial data if(Serial.available())
{
command=Serial.read();
Serial.println(command);
SdPlay.worker();
if(num_two!=num_one)
{
num_two=num_one ;
if(command=='p') {//'p' means play
SdPlay.play();
Serial.println(F("Play."));
}
else if(command=='t') {//'t' means stop
SdPlay.pause();
Serial.println(F("Pause."));
}
Serial.println(ok);
Serial.print(num_one);
Serial.println(num_two);
}
}
Processing: //Get the data of the first serial port. println(Serial.list()); // is always my Arduino, so I open Serial.list()[0]. // Open whatever port is the one you're using. port = new Serial(this, Serial.list()[0], 9600); //Add background-image, judge the mouse click, send play or pause instructions to Microduino to control the music player void draw() {
image(bg, 0, 0);
if (button) {
image(play, x, y);
port.write("p");
}
else {
image(pause, x, y);
port.write("t");
}
}
Step 5: After the system goes well, a disk music player will appear on the screen. Click the button in the middle to see what happens. ResultThe music player starts or pauses along with the click of the button, just like this:.
Video |
