|
Step 1: Arduino IDE download
*Arduino compitable, first install basic IDE
- First download the Microduino IDE (based on a modified version Arduino1.0x) :
- We have Microduino compatible hardware support packages and libraries integrated in the IDE, the next step will be to verify their validity
Step 2: Verify IDE
|
*Verifying hardware support package
- For fit variety of Microduino core, IDE has integrated Microduino hardware support package;
- The support package to make Microduino hardware display in the board of Arduino IDE
- like official Arduino hardware, you can download online and reprogram the bootloader
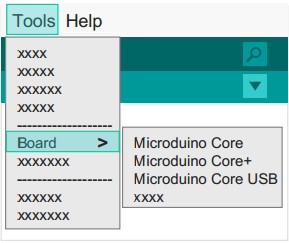
- Start Arduino IDE, click the "Tools" menu
- You will see Microduino series under "Board" menu.
|
|
|
*Verify library
- For dozens of different functional modules, Microduino sorting out a compatible library support package;
- It contains the original part of the official Arduino support package
- We just renamed their folders for easy sorting classification
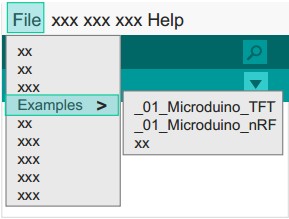
- Start Arduino IDE, click the "File" menu
- You will find the program example in the "Examples" menu.
|
|
Step 3: Drivers
*After development environment configured to start installing the driver
*Download Driver*
- First download the corresponding system drive:
*Install the driver
|
*Windows
- Automatic installation
- Unzip get "\ Windows \ Automatic" folder contents
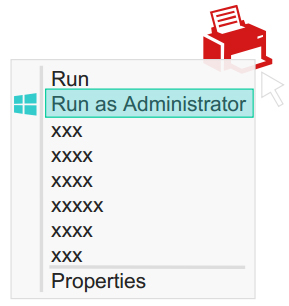
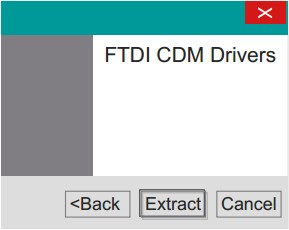
- Run one "CDM XX WHQL Certified.exe"
- (win7 need administrator privileges to run, like right photo)
- Follow the prompts to complete the installation
- Manual installation
- If you do not bother, you can choose to manually install:
|
|
|
*Mac OS
- Unzip get"\Mac.os"Folder Contents
- Run "FTDIUSBSerialDriver_X_X"
- Follow the prompts to complete the installation
|
|
   note:
   If there is damage or missing signature file when prompted, can not install the driver properly, you need to disable the digital signature system installation in windows 8。
   '
   1.Turn off the check.
   2.Hold the shift key while clicking on Restart
   3.Select Troubleshoot > Advanced Options > Startup Settings > Restart
   4.After Restart select option 7.
   '
   by: [microsoft answers]
Step 4: Connecting hardware
- Use Micro-USB cable to connect with Microduino-USBTTL to your PC / Mac;
|
*Windows
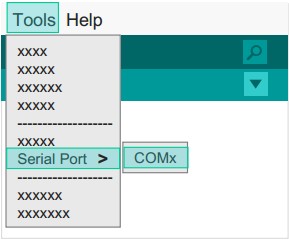
- Open the IDE, in the menu "Tools" in the "Serial Port"
- You will see the "COMXX"
|
|
|
*Mac OS
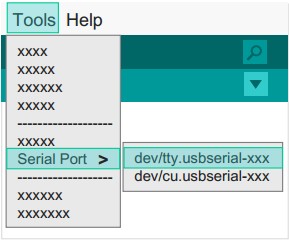
- Open the IDE, in the menu "Tools" in the "Serial Port"
- You will see the "dev / tty.usbserial-XX"
|
|
Appendix
|
