Sensor-Color LED

From Microduino Wiki
Revision as of 08:28, 22 October 2015 by 1304410487@qq.com (talk) (Created page with "{{Language|Microduino-Color LED}} {| style="width: 800px;" |- | 400px|thumb|right| Microduino-Lantern Microduino-Color LED is one-wire-bu...")
(diff) ← Older revision | Latest revision (diff) | Newer revision → (diff)
Jump to: navigation, search
Language: English  • 中文
Microduino-Lantern

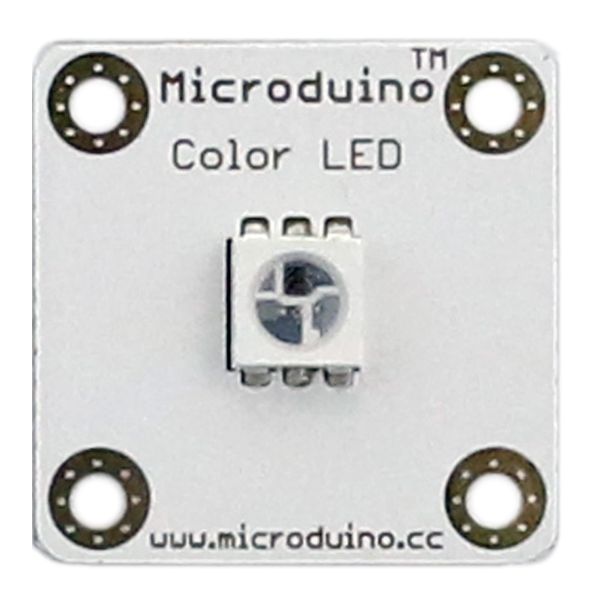
Microduino-Color LED is one-wire-bus-control colored LED light, adopting WS2811 protocol with built-in IC chip control.


Feature

  • One-wire bus control and one I/O port control needed;
  • Built-in IC control, capable of cascade control;
  • Free color control (0-225);

Specification

  • 3.3V~5V operation voltage;
  • Size: 5mm*5mm
  • 1.27mm-pitch and 4pin interface;
  • Three basic color to combine different color by adjusting from 0 to 255;

Document

Development

You can select the color of the LED light by checking the corresponding color code online. Some are hexadecimal code value, which can be transferred to decimal value.

Application

https://github.com/wasdpkj/libraries/tree/master/_99_LCD_NeoPixel

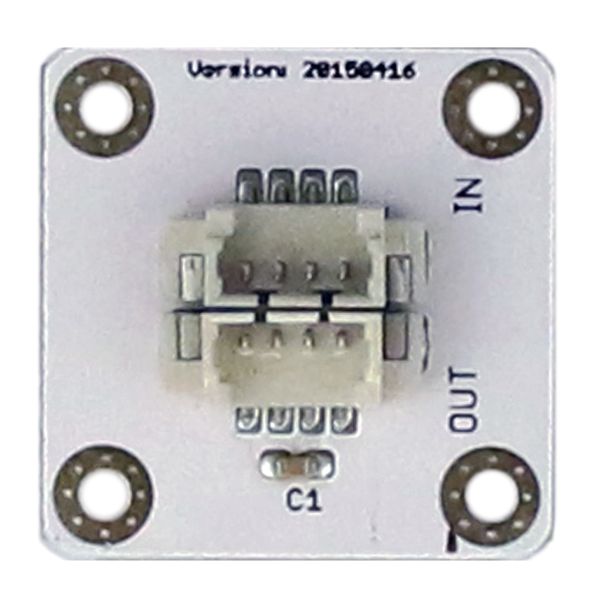
  • Stack all modules and connect the “IN” on the back of WS2812 to a digital port (D6) of Sensorhub via dupont line.
  • Open “strandtext” in the library and change the “60” of “Adafruit_NeoPixel strip = Adafruit_NeoPixel(60, PIN, NEO_GRB + NEO_KHZ800)” to “1”, which is the light number you want to control. Here we adopt D6 pin, which you can also change.
  • Choose the right board after changing and then download after compiling.
  • You can see cool color experience after the download.

Purchase

History

Picture

  • Front
Microduino-Cube-Station Front
  • Back
Microduino-Cube-Station Back