|
Overview
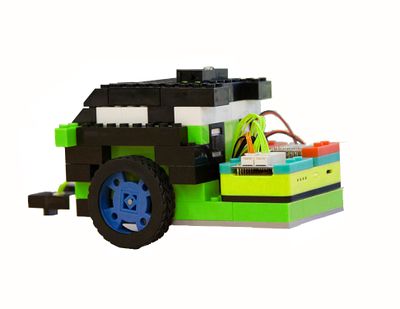
The Microduino Smart Car has three modes. Change the mode at any time using the remote control:
Remote Control: Use the remote control’s arrow buttons to drive the car directly.
Line Finder: Create a path with black tape and the Smart Car will automatically move along the path.
Obstacle Avoidance: The smart car moves forward until it encounters an object in front of it. It will then back up and try to steer away to clear the obstacle.
Module List
Module
Other Equipment
- Motor*2
- Wheel*2
- USB cable*1
- Sensor cable*2
- Motor cable*2
- Remote control*1
- Building blocks or other fixation structures
Module Setup
1. Setting up the modules and mBattery
2. Turn the power supply (mBattery) on.
Press and hold the button on mBattery until the red LED lights up
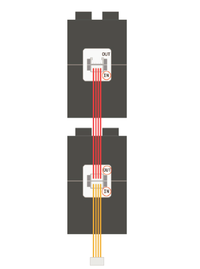
3. Connect the two ColorLEDs
Connect the two ColorLEDs according to the prompts.

4. Connect sensors to Hub.
Pay attention! Match the colors of the sensor cables with the sensors according to the diagram below.
5. Connect the motors to Motor module
Connect the motors to the interfaces of Motor module.
Program Upload
1. Open Arduino IDE for Microduino program. Open File>Examples>mCookie_IBC>_08_Smart Car
2. Select Tools>Board>Microduino Core(328p).
3. Select Tools>Port>COM X. X is a number that varies. If there is no port option, try plugging mBattery into a different USB port.
4. Click the upload symbol to upload your program. Wait for the Done Uploading message to be displayed.
| 
