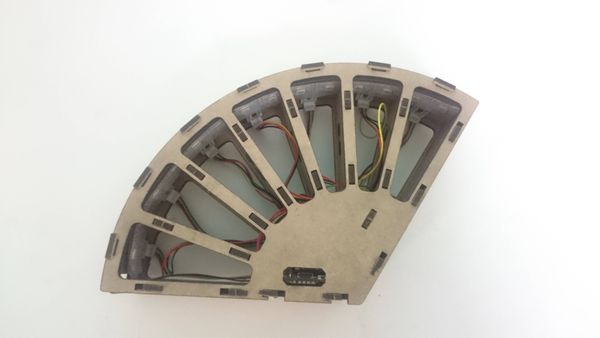
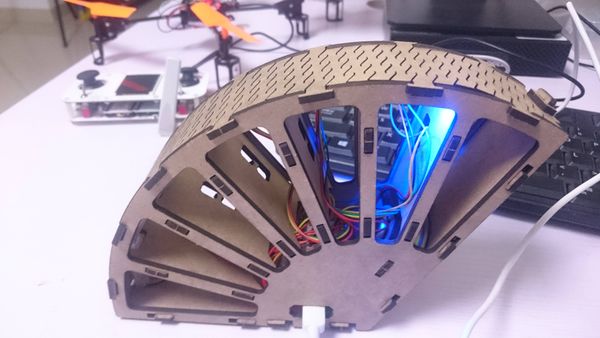
Outline
- Project:Open source smart rainbow music touch lamp
- Objective:When someone touch it, the corresponding lamp will light and produce a note.
- Difficulty:Medium
- Time-consuming:2hours
- Maker:ray
- Introduction:
- Use Microduino product module to build a smart rainbow music touch lamp quickly .
- The system detect whether someone touch it through touching buttons.
- when someone touch it, there will be a corresponding lamp lights and produces a corresponding note.
Bill of Material
| Module |
Number |
Function
|
| Micro-USB cable |
1 |
Program download, and power supply
|
| horn |
1 |
Sound production
|
| Nylon screw |
4 |
Module fixation
|
| Nylon nut |
4 |
Module fixation
|
| Nylon screw column |
4 |
Module fixation
|
| Double faced adhesive tape |
7 |
Sensors fixation
|
| Colored light belt |
1 |
|
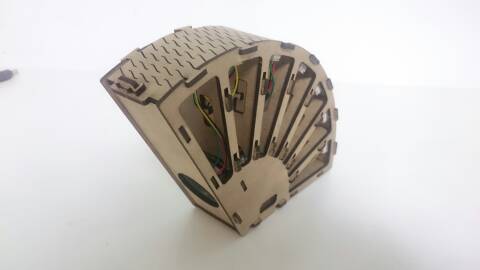
| Shell |
1 |
|
Principle of the Experiment
- Open source smart rainbow music touch lamp is mainly divided into touch monitoring and audio playing two part:
- Touch detection part:Adopt button-touching sensorMicroduino-TOUCH, which can detect whether someone has touched it.
- Control part is mainly sound and light control. Light-emitting devices adopt light belts that there are 14 lights in one belt, which can make the rainbow lamps appear beautiful color.
- Audio playing part:Manage audio files through Microduino-Audio module.
Program Download
Programming
- Overlay Microduino-Core and Microduino-USBTTL together.
- Connect the Microduino-USBTTL with USB cable ,and prepare to upload the program.
- Note:Please upload programs before stacking all modules together.
- Open Arduino IDE for Microduino environment, (reference to set up:AVR core:Getting started)
- Click[工具], and confirm that board card(Microduino-Core)processor(Atmega328P@16M,5V) selected correctly, and select the corresponding port number (COMX)
- Click [File]->[open], browse to the project program address, and click “BluButterflyLight.ino” to open the program.
- After all these items are correct, click "→" button to download program to the development board.
Store Audio
- Audio storage methods please refer to the following page:Download audio
Assemble the rainbow touch lamp
- Step4:
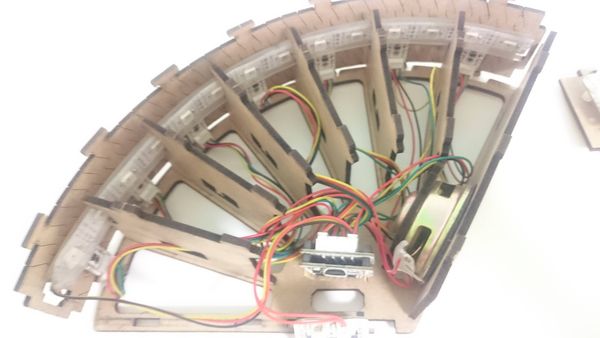
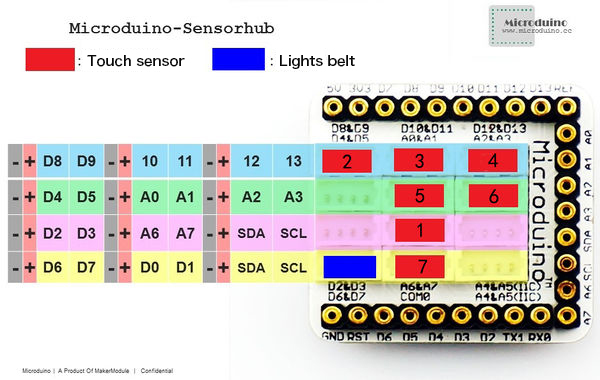
- The corresponding port number of the Touch sensor' and lights belt in Microduino-Sensorhub is as shown in the picture.
- Step5:
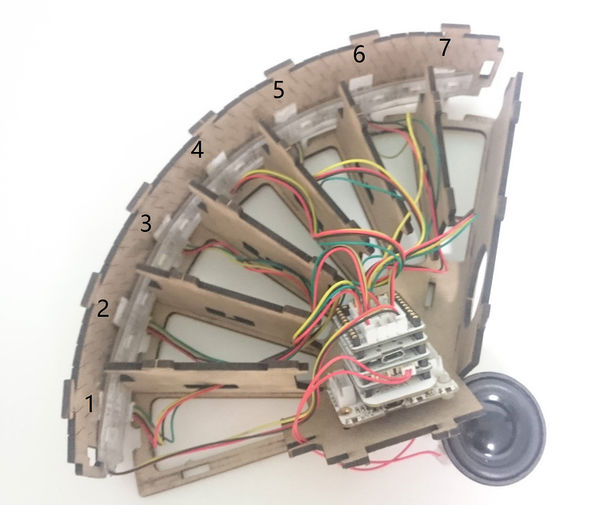
- Make the lights belt past through as shown in the picture.
- Connect the touch sensor in turn as the corresponding order in the above picture and the following picture.
- Step6:
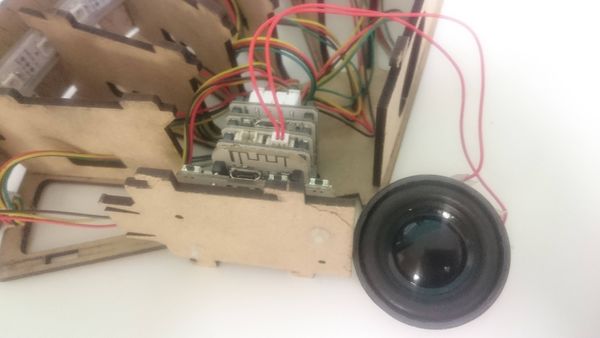
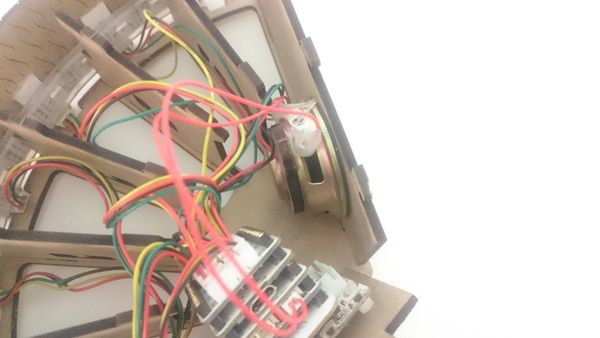
- Put the permanent seat of the horn on the horn.
- Then connect the permanent seat and the horn together to the shell.
- Step7:
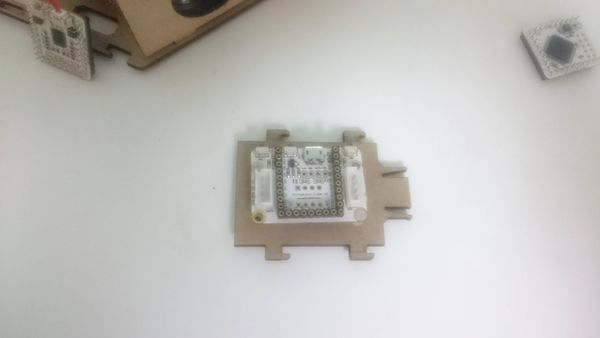
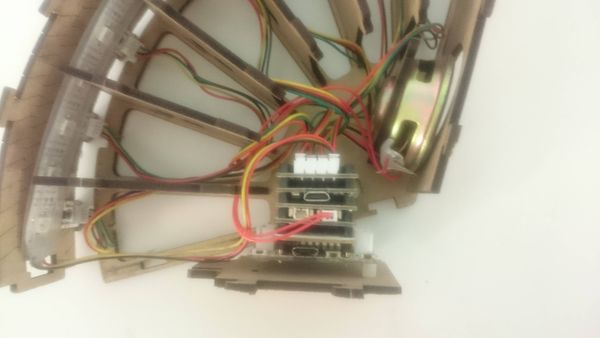
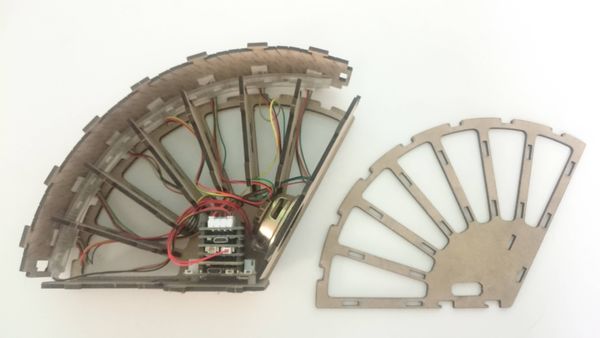
- Then assemble the internal structure.
- Step8:
- Finally, fit the profile, and now the shape of the rainbow lamp is completed.
Operating Instruction
- Then use USB cable to connect the computer and rainbow touch lamp..
- Touch the upper part of the rainbow, and it will produce a note and the light in the corresponding position will light.
video
|

