Difference between revisions of "S4A Scratch Getting Started"
From Microduino Wiki
(Created page with "{| style="width: 800px;" |- | ==Software Preperation== {| style="width: 800px;" |- | *Arduino IDE-Programming software, which can be downloaded here '''Microduino Getting st...") |
|||
| (2 intermediate revisions by one other user not shown) | |||
| Line 7: | Line 7: | ||
| | | | ||
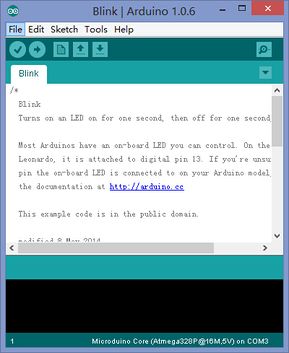
*Arduino IDE-Programming software, which can be downloaded here '''[[Microduino Getting started]]''' | *Arduino IDE-Programming software, which can be downloaded here '''[[Microduino Getting started]]''' | ||
| − | |||
| − | |||
| − | |||
| Line 28: | Line 25: | ||
**PC | **PC | ||
**USB cable | **USB cable | ||
| + | |||
| + | '''Users can also use [[mCookie-CoreUSB]], [[Microduino-CoreUSB]] or [[Microduino-Core+]] to debug. Please select the right board from Tools->Board->XXX in Arduino IDE when you download the program. | ||
|| | || | ||
| Line 41: | Line 40: | ||
*Stack Microduino-Core and MicroduinoUSBTTL, then connect to the PC through USB cable. | *Stack Microduino-Core and MicroduinoUSBTTL, then connect to the PC through USB cable. | ||
| − | * Open | + | * Open "S4AFirmware15" with Arduino IDE, choose the right board and port and then download the program to Microduino-Core. |
|| | || | ||
Latest revision as of 09:36, 13 September 2016
Software Preperation
Hardware Preperation
Hardware Connection
Tutorial |


