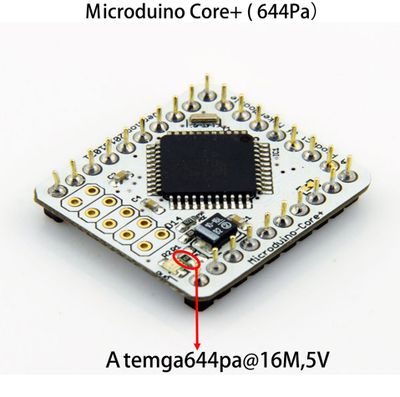
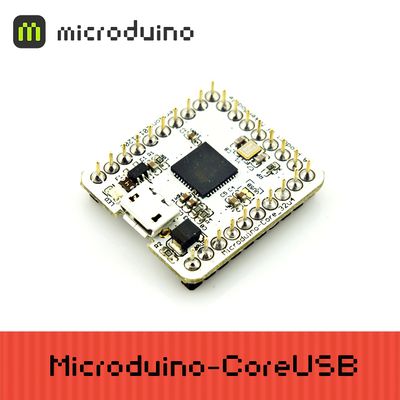
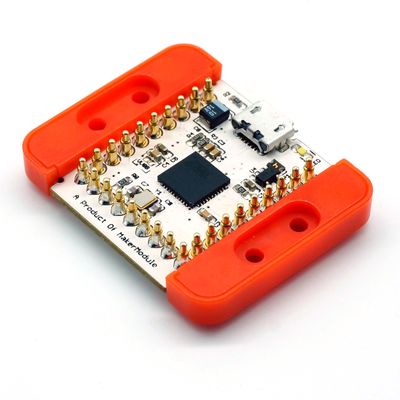
Download
- Select the corresponding download for your Mac OS version:
https://www.microduino.cc/download/
Installation
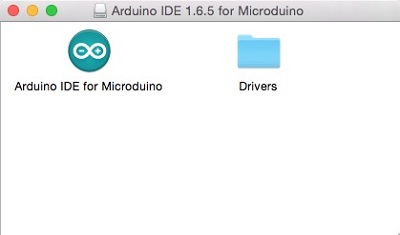
- Open the downloaded file. You will see the Arduino IDE and a Drivers folder:
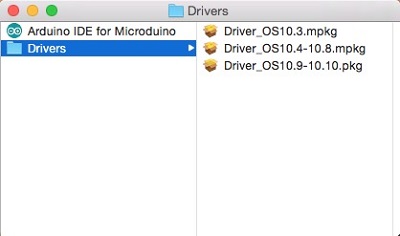
- Open the Drivers folder. Then install the driver package for your Mac OS version:
- Your Mac is trying to recognize the new device. Briefly press the key to the right of your shift key.
- A popup will appear saying that your keyboard cannot be recognized. Click "Skip".
- Select the keyboard layout for your region. Click finish.
Confirm Drivers Successfully
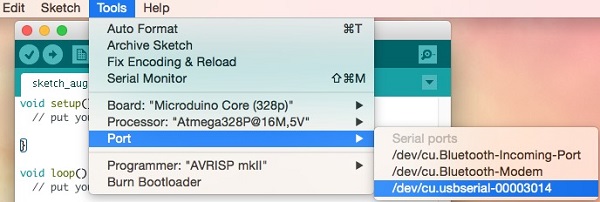
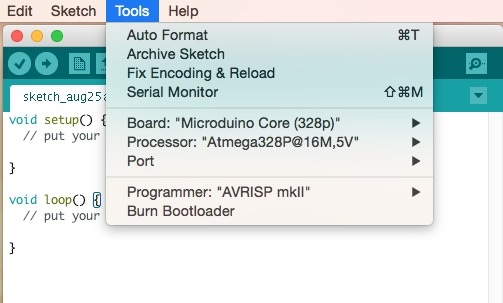
- Connect Microduino-USBTTL to your computer. Verify that there are available Port options under Tools.
Arduino IDE Basics
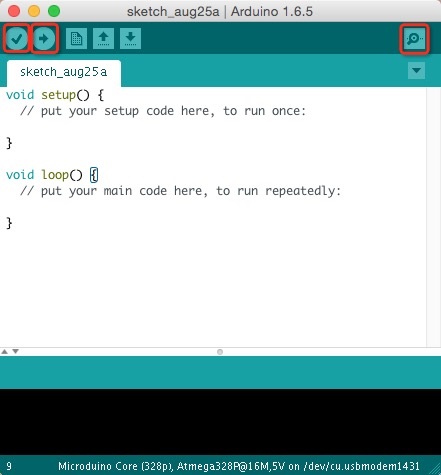
Interface
- 【Verify】: Checks for errors in the code.
- 【Upload】: Uploads the program to a MCU.
- 【Serial Monitor】: Useful in debugging programs.
Tools
- 【Board】: Select the corresponding core module to which the program is being uploaded.
- 【Processor】: Select the corresponding processor.
- 【Port】: Select the common USB port.
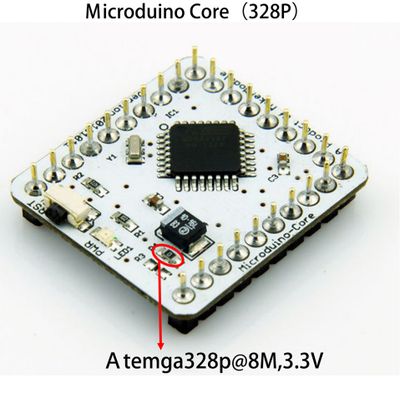
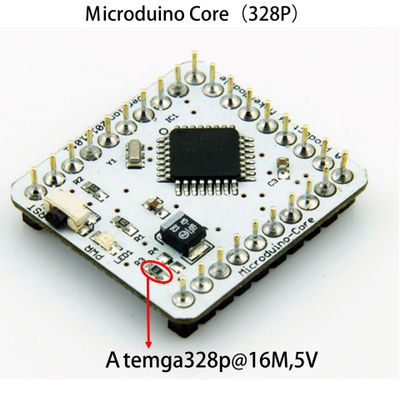
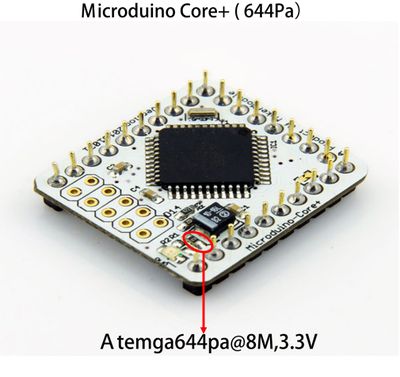
The Board Types
Uploading Code
- Select board type and processor.
- Select the port.
- Click upload.
|
