Difference between revisions of "Sensor-Joystick"
From Microduino Wiki
(Created page with "{{Language|Microduino-Joystick }} {| style="width: 800px;" |- | 400px|thumb|right| Microduino-Joystick Microduino-Joystick is a joystick sen...") |
|||
| Line 6: | Line 6: | ||
Microduino-Joystick is a joystick sensor, which can detect horizontal displacement of a joystick. | Microduino-Joystick is a joystick sensor, which can detect horizontal displacement of a joystick. | ||
| − | |||
| − | |||
| − | |||
| − | |||
It can return analog values of X-axis and Y-axis via the analog port, whose range is between 0-1,023. | It can return analog values of X-axis and Y-axis via the analog port, whose range is between 0-1,023. | ||
| Line 43: | Line 39: | ||
*Make sure you build Microduino IDE or refer to: [[Microduino Getting started]] | *Make sure you build Microduino IDE or refer to: [[Microduino Getting started]] | ||
*Core selection | *Core selection | ||
| − | **1.Adopt [[Microduino-CoreUSB]] or [[mCookie-CoreUSB]] as the core. | + | **1. Adopt [[Microduino-CoreUSB]] or [[mCookie-CoreUSB]] as the core. |
| − | **2.Adopt [[Microduino-Core]] or [[Microduino-Core+]] as the core plus [[Microduino-USBTTL | + | **2. Adopt [[Microduino-Core]] or [[Microduino-Core+]] as the core plus [[Microduino-USBTTL]] as the program download module. |
| Line 74: | Line 70: | ||
[[file:mCookie-sensorhub_Analog.PNG|thumb|400px|center]] | [[file:mCookie-sensorhub_Analog.PNG|thumb|400px|center]] | ||
*Connect the core, Sensorhub and LED to a computer with a USB cable. | *Connect the core, Sensorhub and LED to a computer with a USB cable. | ||
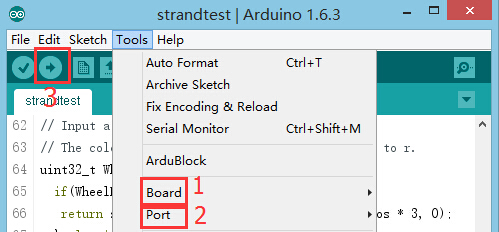
| − | *Select the right board and COM port, compile and download. | + | *Select the right board and COM port, compile and download. You can refer to [[AVR Core:Getting started]] |
[[file:upload.JPG|thumb|800px|center]] | [[file:upload.JPG|thumb|800px|center]] | ||
*Choose the right port number from Tools→Serial Port in Arduino IDE after compiling and then download program. | *Choose the right port number from Tools→Serial Port in Arduino IDE after compiling and then download program. | ||
Revision as of 03:48, 28 October 2015
| Language: | English • 中文 |
|---|
|
Microduino-Joystick is a joystick sensor, which can detect horizontal displacement of a joystick. It can return analog values of X-axis and Y-axis via the analog port, whose range is between 0-1,023.
ContentsFeatures
Specification
**Input device
Document
DevelopmentPreparation
Programvoid setup() {
Serial.begin(9600); //Serial port initializing
}
void loop() {
int sensorValueX = analogRead(A0); //X-axis input
int sensorValueY = analogRead(A1); //Y-axis input
float voltageX = sensorValueX * (5.0 / 1023.0);
float voltageY = sensorValueY * (5.0 / 1023.0);
Serial.print(voltageX);
Serial.print(",");
Serial.println(voltageY);
delay(50);
}
}Hardware Buildup
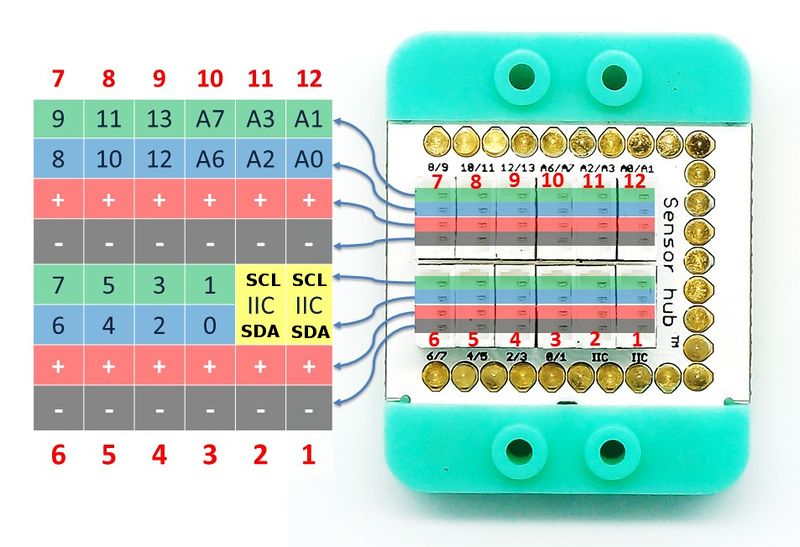
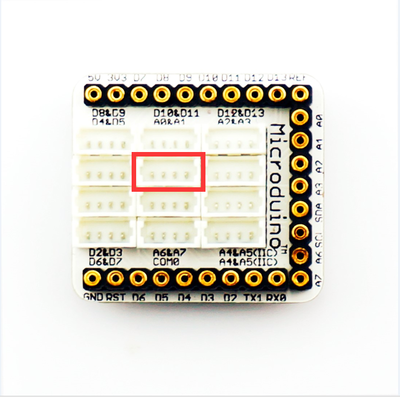
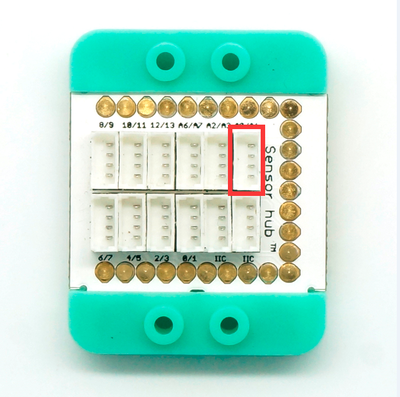
Please refer to: Microduino-Sensorhub Please refer to: mCookie-Hub
ApplicationYou can simulate mouse movement and other displacement sensors as human-computer interaction input. ProjectPurchaseHistoryPictures
File:Microduino-Joystick-F.JPG Microduino-Joystick Front
File:Microduino-Joystick -b.JPG Microduino-Joystick Back |


