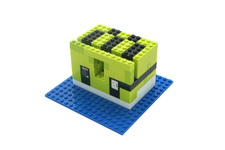
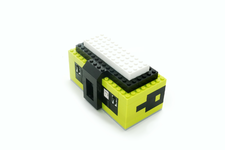
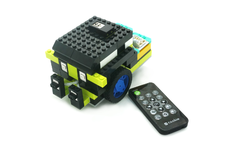
Itty Bitty City
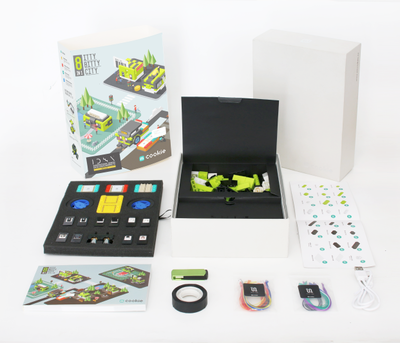
The Itty Bitty City is an 8-in-1 complete project kit which features Microduino’s mCookie modules. Each of the 8 projects introduces new concepts and ideas related to programming and electronics. It is designed for beginners. The kit contains everything needed to build the 8 projects. Including mCooke modules, sensors and trinkets, building bricks, and additional accessories. The source code is also available for each of the projects.
Contents
Getting Started
Step 1: Downloading Latest Software
Download the latest Microduino software for your OS (Windows or Mac) at: http://microduinoinc.com/download/
[image]
Step 2: Follow the Software Getting Started Guide
Follow the getting software started guide for your OS at:


Follow the guide to ensure the software is properly setup and the correct drivers are installed.
Step 3: Configuring and Testing the Software
- Open the Microduino software.
image - Go to “Tools > Board” and select “Microduino/mCookie-device”
image - Go to “Tools > Processor” and select “Microduino/mCookie-Core (328p)@16M,5V”
image - Only have the red Core module and yellow battery stacked. Then connect the MicroUSB to the yellow battery and the other end to your computer's USB port.
image - Important!!!
Check if the red LED is lit on the yellow battery. This indicates the battery is ON and SUPPLYING power to the modules.
If there is no red LED lit, then press and hold the button on the yellow battery for a few seconds to turn it on.
Note:
Blinking blue LEDs indicates the battery is CHARGING ONLY.
A red LED indicates the battery is ON and SUPPLYING power (required for programming and using your projects).
The red LED must be on when programming or using your project.
- Go to “Tools > Port” and select the port. It is usually the one that is select-able. (If you are using a Mac, it is not the Bluetooth one)
image - With the default sample code. Hit upload (right arrow icon on the top left of the software).
image - The code will compile and will say upload complete if successful. Congratulations the software setup is complete!
image
The Itty Bitty City Projects can be found under File (or Apple) > Examples > 00.mCookie_IBC
image
The digital version of the printed manual can be found here: Instruction Manual
Projects
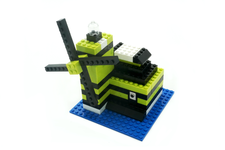
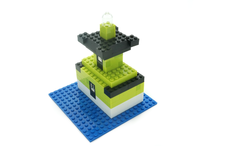

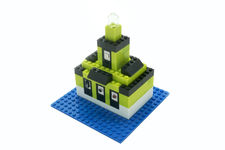

Itty Bitty City Kit Contents
| Module | Quantity |
|---|---|
 Core (ATmega328p) |
1 |
 Hub |
1 |
 Motor Controller |
1 |
| Trinket | Quantity |
|---|---|
 Buzzer |
1 |
 LED (Multi-Color) |
2 |
| Sensor | Quantity |
|---|---|
 Crash Sensor |
2 |
 Infrared Receiver |
1 |
 Line Finder Sensor |
2 |
 Light Sensor |
1 |
 Microphone |
1 |
| Accessory | Quantity |
|---|---|
| Ball |
2 |
| Building Block (Various) |
136 |
| MicroUSB Cable |
1 |
 Motor |
2 |
| Omni-Wheel |
1 |
| Remote Control |
1 |
| Accessory | Quantity |
|---|---|
| Roll of Black Tape |
1 |
| Rubber Sleeve (for Motor) |
1 |
| Sensor Cable |
16 |
| Set of Music Card |
1 |
| USB Flash Drive |
1 |
| Wheel |
2 |